Release Notes
Installation
Quick Start
Cluster Admin Guide
Multi-tenant Management
Platform Management
Infrastructure
Monitoring Center
User Guide
Storage
Configuration Center
Project Settings
One-click Deployment of Applications
Objective
This document shows how to deploy an application in KubeSphere via App Template, demonstrating the basic functionality of the application repository, application templates, and application management.
Prerequisites
You need to create a workspace and project, see the Admin Quick Start if not yet.
Estimated Time
About 10 minutes.
Example
The backend of the application repository can be either the QingStor Object Storage or the AWS Object Storage, where the packages are composed of Helm template files of the applications. Therefore, before adding an application repository to KubeSphere, you need to create an object storage and upload application Helm packages in advance.
This documentation prepares a testing application repository based on QingStor Object Storage.
Step 1: Add a Application Repository
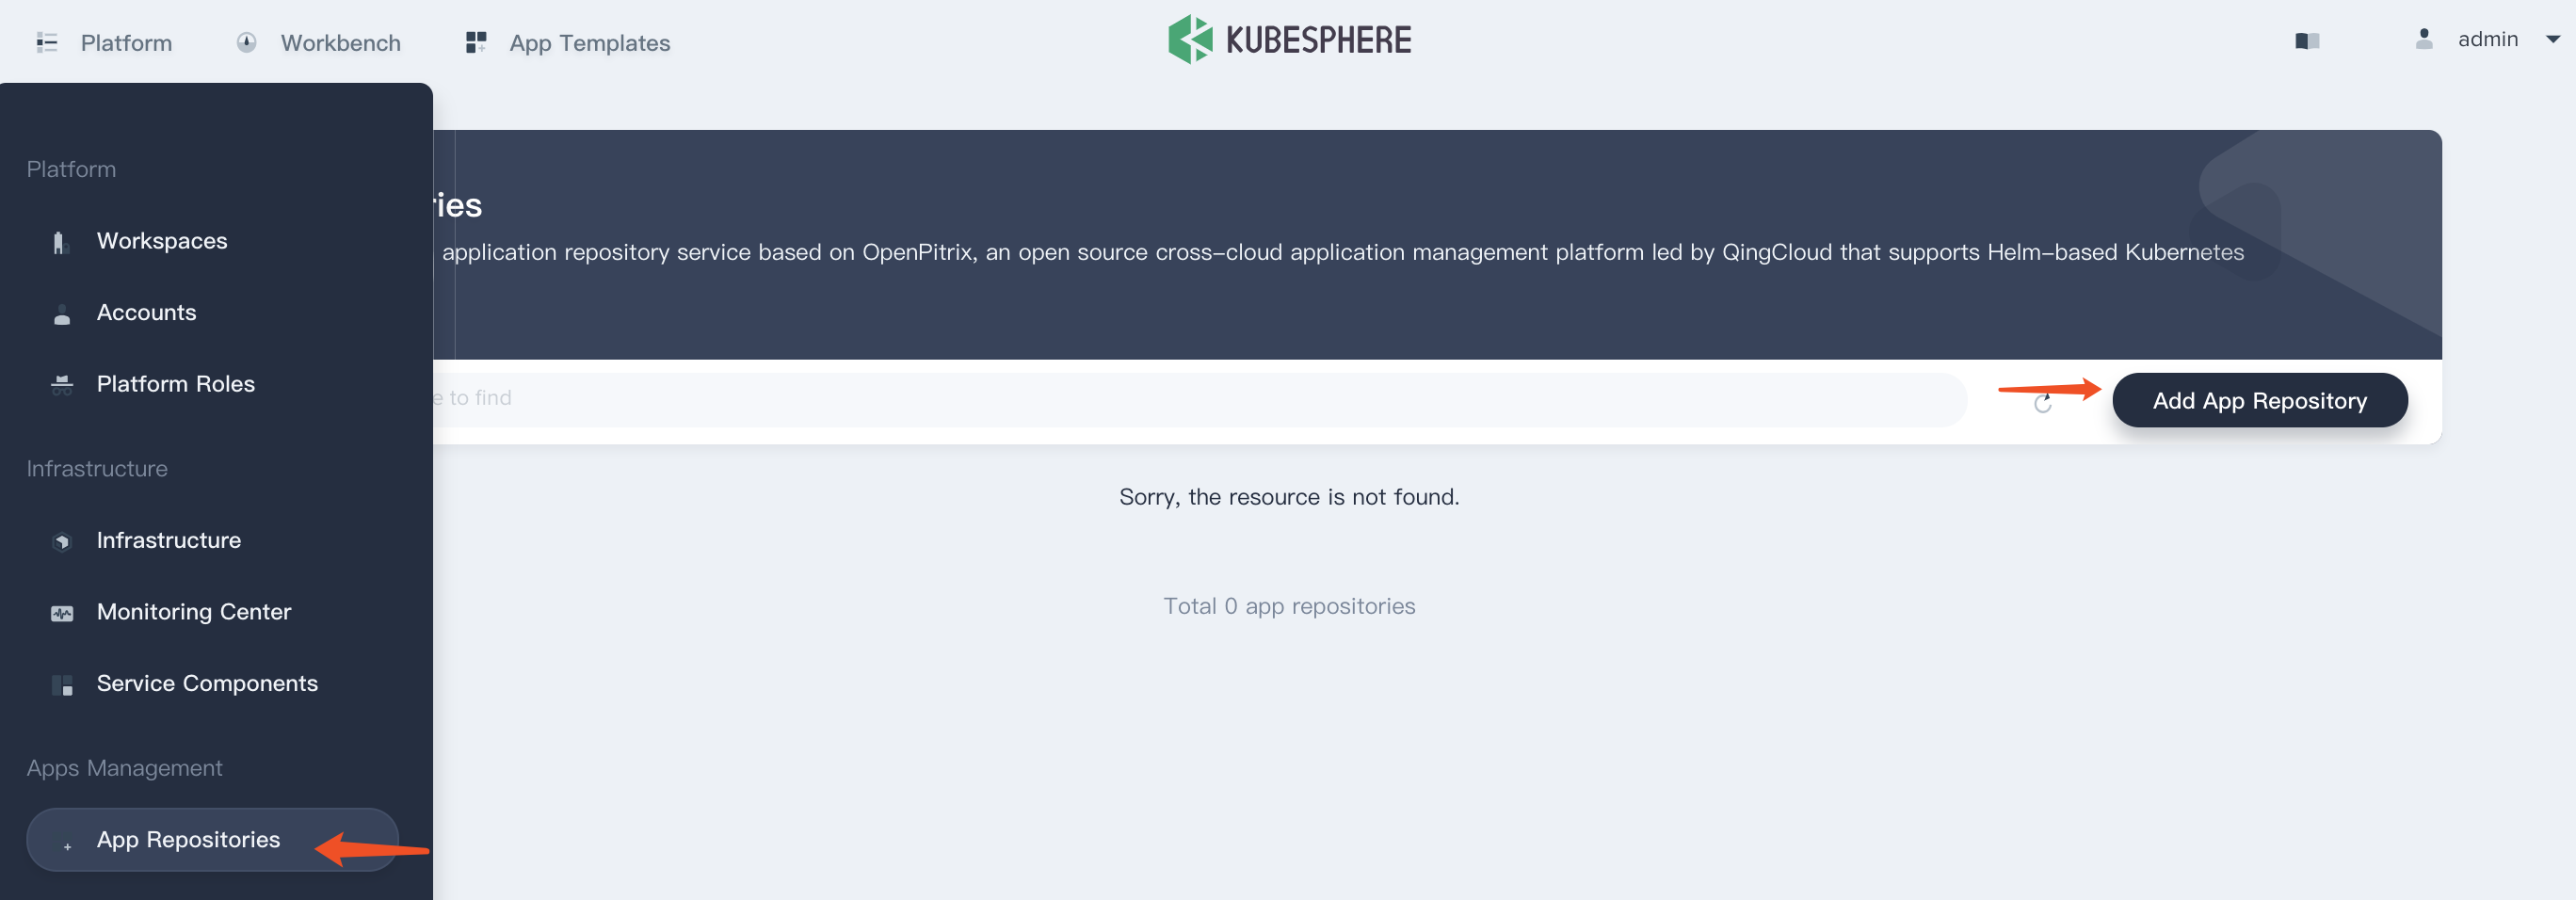
1.1. Sign in with cluster-admin and navigate to Platform → App Repositories, then Click Add App Repository.
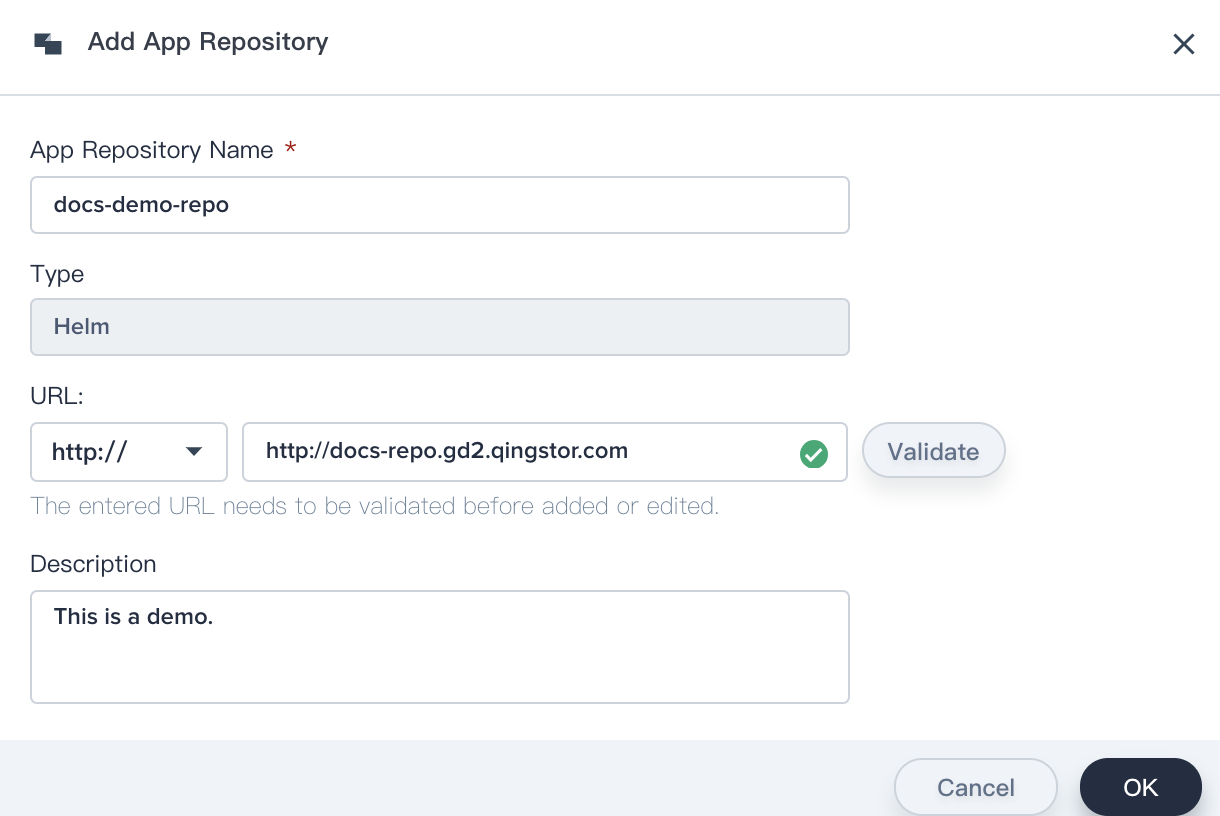
1.2. Fill in the basic information, note that there is an example repository of http protocol http://docs-repo.gd2.qingstor.com, you can validate if this URL is available, choose OK when you're done.
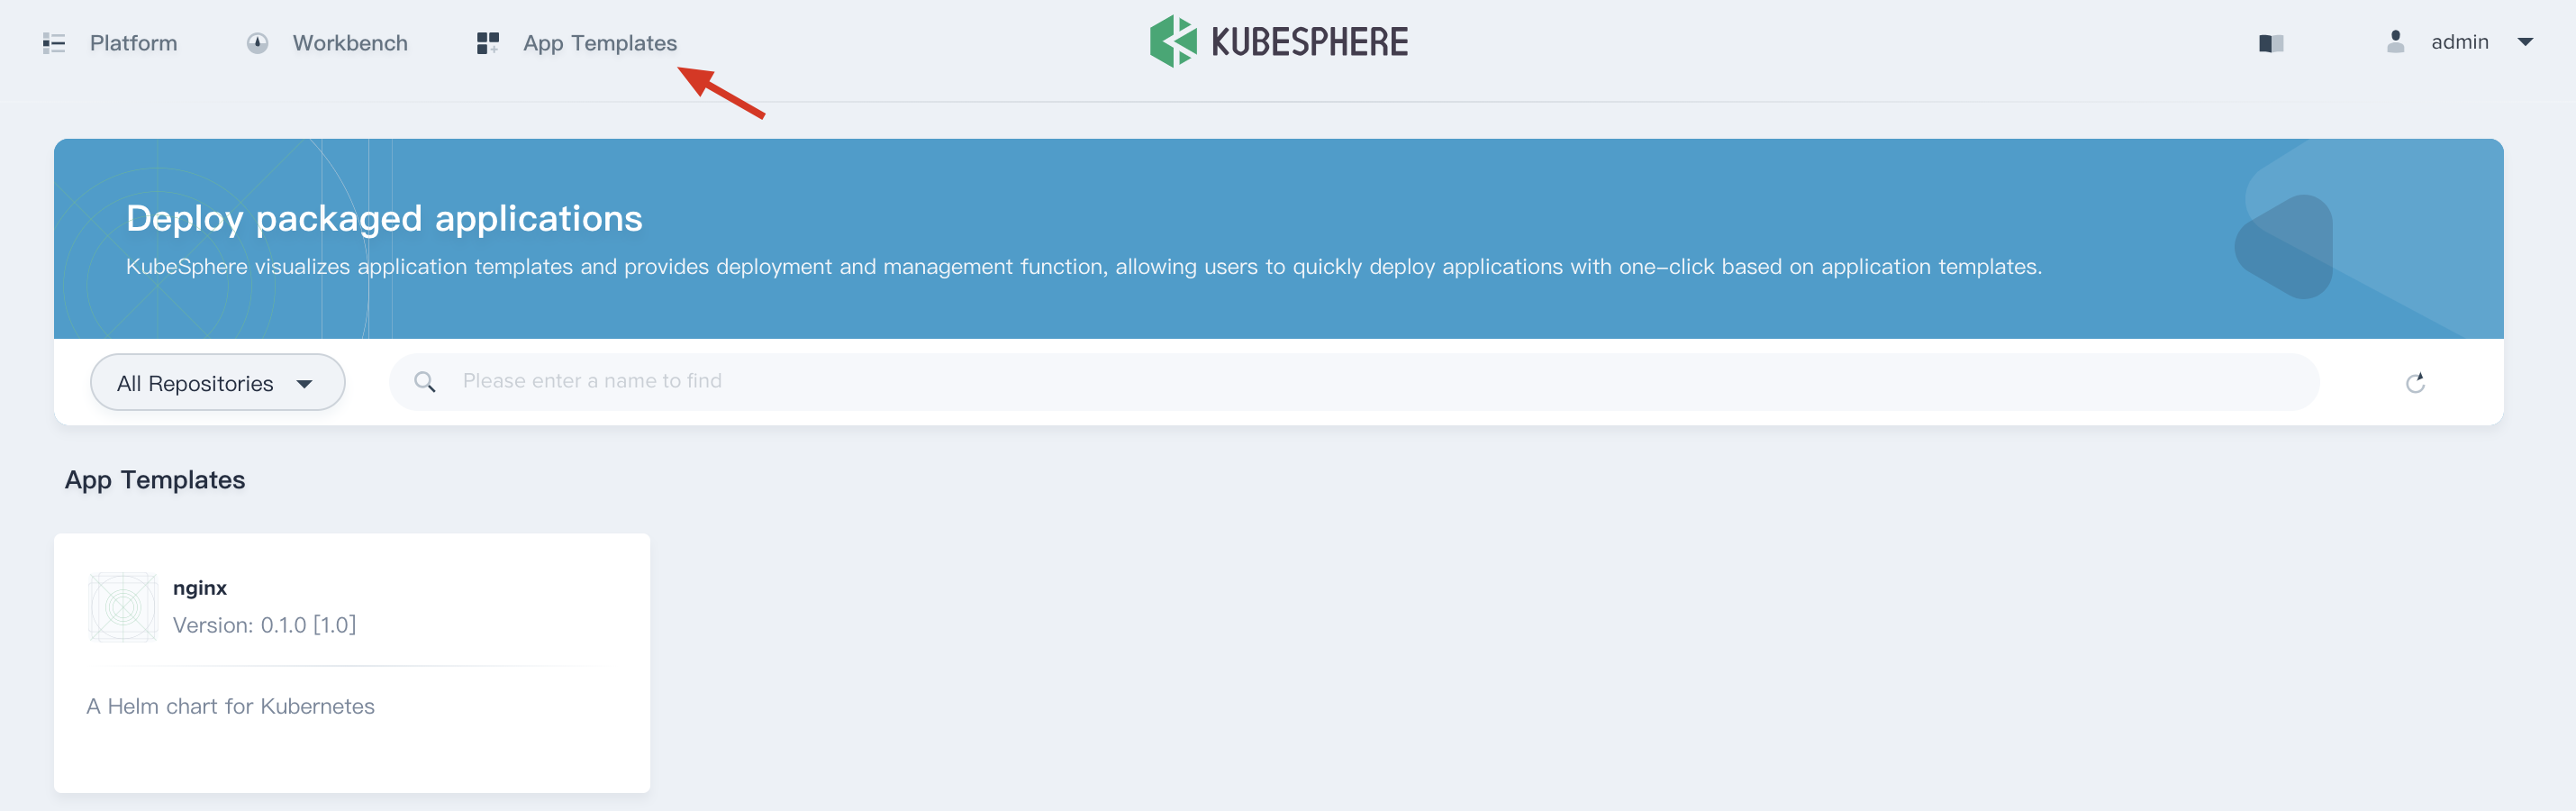
1.3. Select App Templates on the top of this page, it will import all of the applications from the object storage. There is only Nginx App template could be deployed since it's only one testing package been uploaded in that object storage.
Step 2: Deploy Nginx App
2.1. When you have added the application repository to the platform, you can log out and sign in with project-regular. Then select App Templates on the top of this page, and enter into the Nginx app.
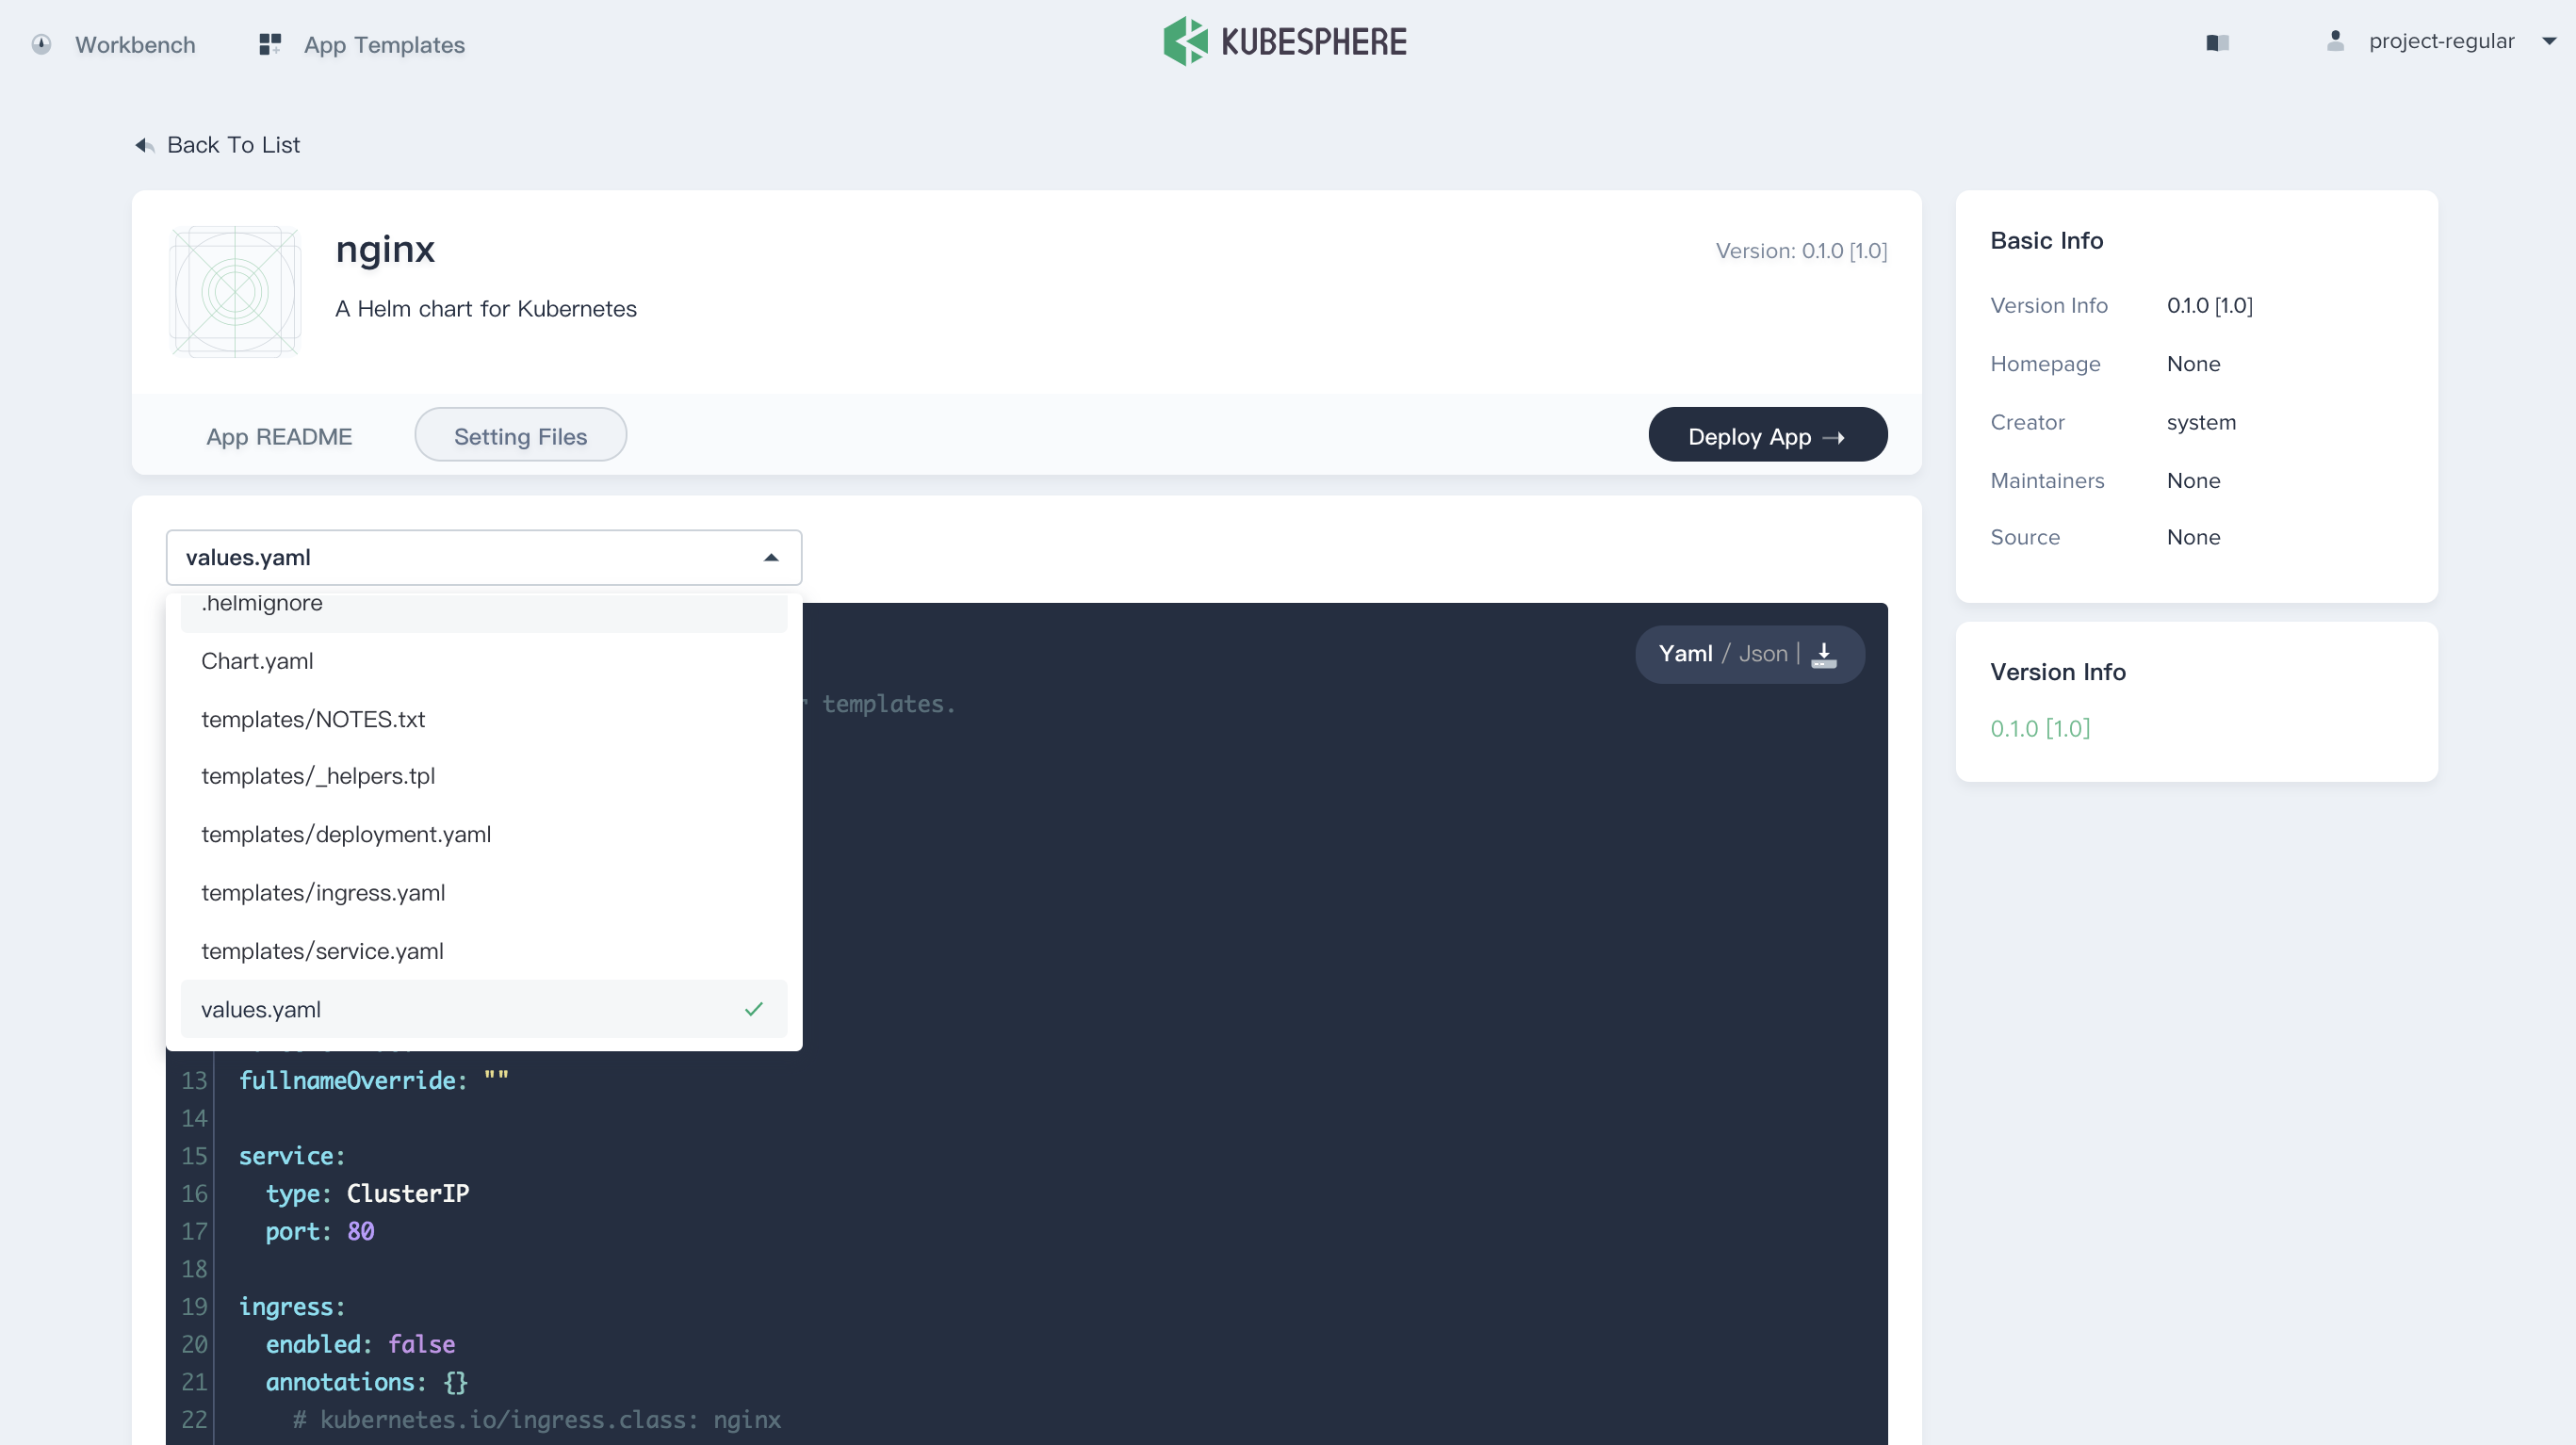
Switch Setting Files to inspect the configuration files of the application package, e.g. values.yaml.
2.2. Click Deploy App and fill in the basic information.
2.3. Name can be customized by yourself, choose the corresponding Workspace and Project as the environment.
Params Configuration is the default value in the values.yaml file and support for both yaml and table edit, just leave the default values in Params Configuration.
2.4. Then choose Deploy to deploy Nginx app to KubeSphere.
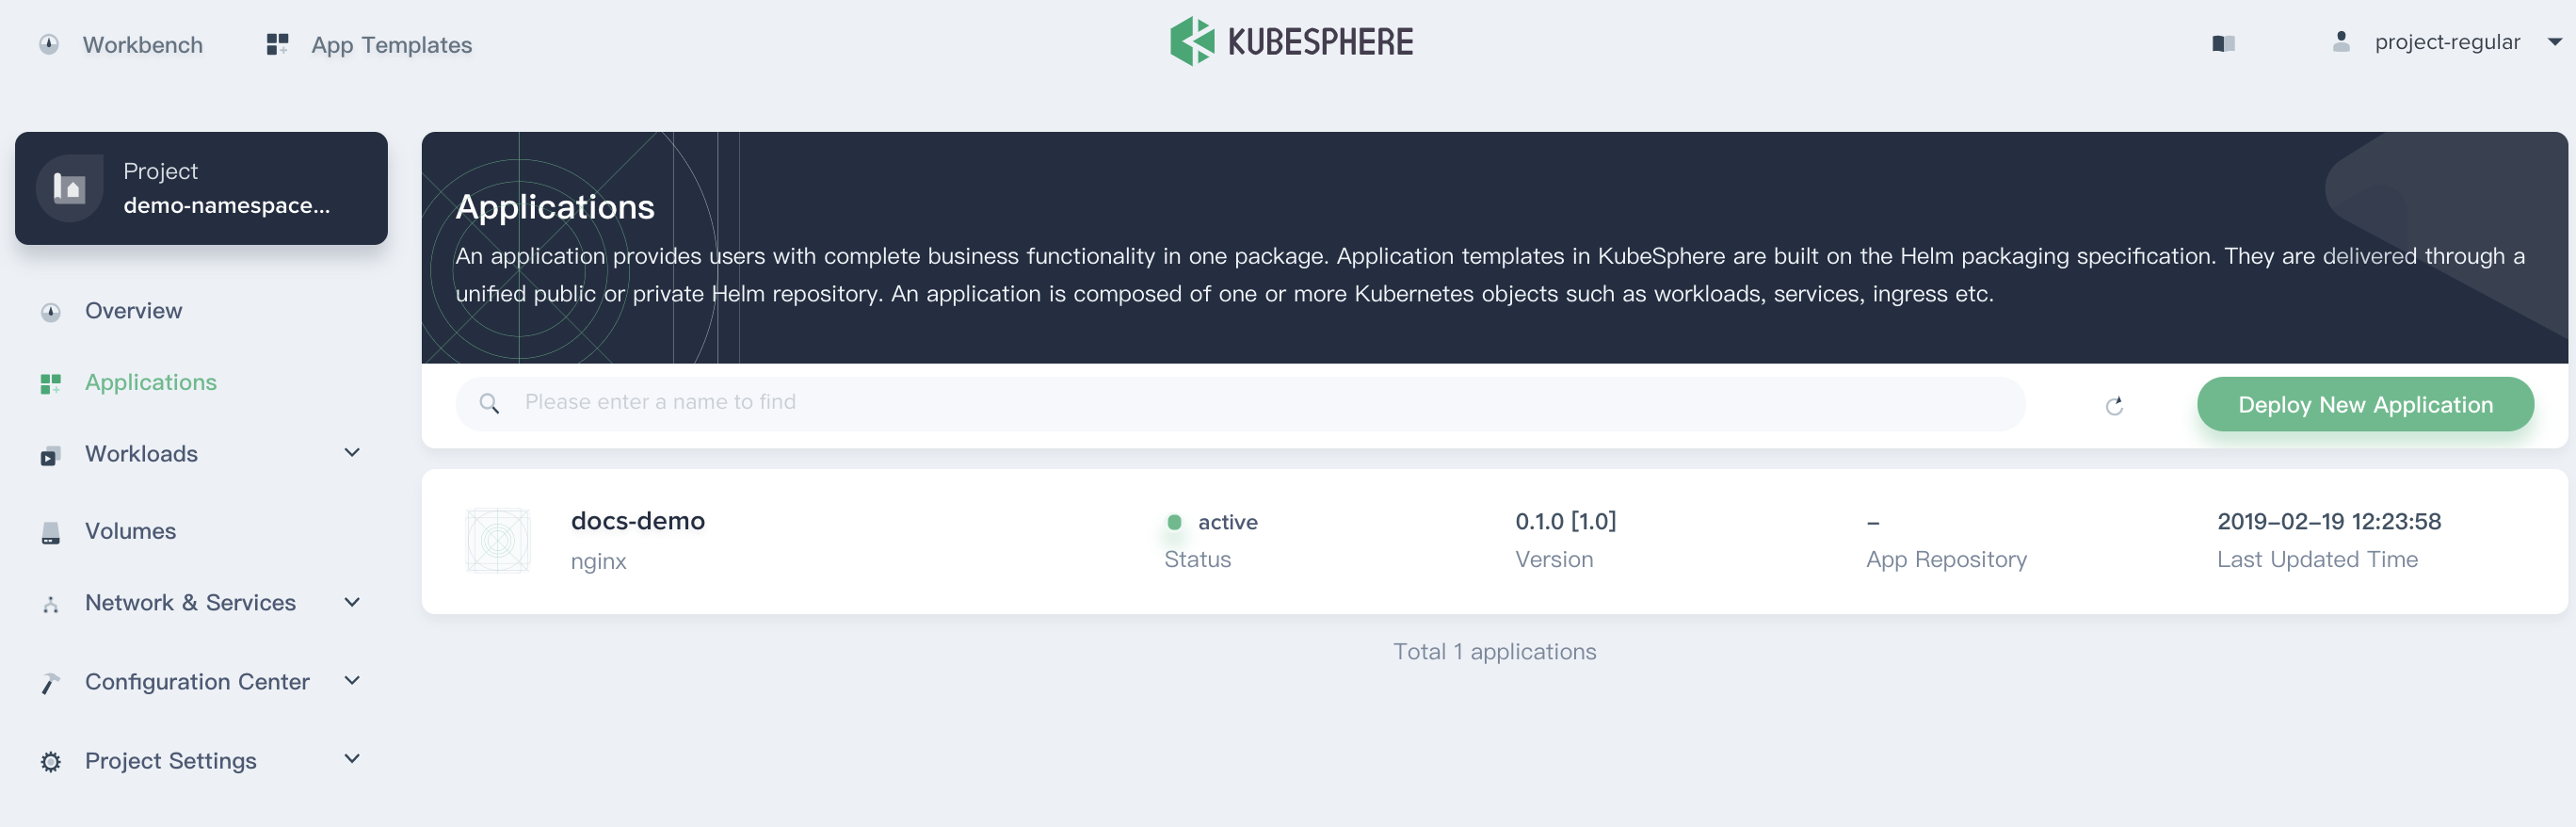
2.5. Navigate to Applications, then you can see the application docs-demo showing active from the application list.
Step 3: View App Details
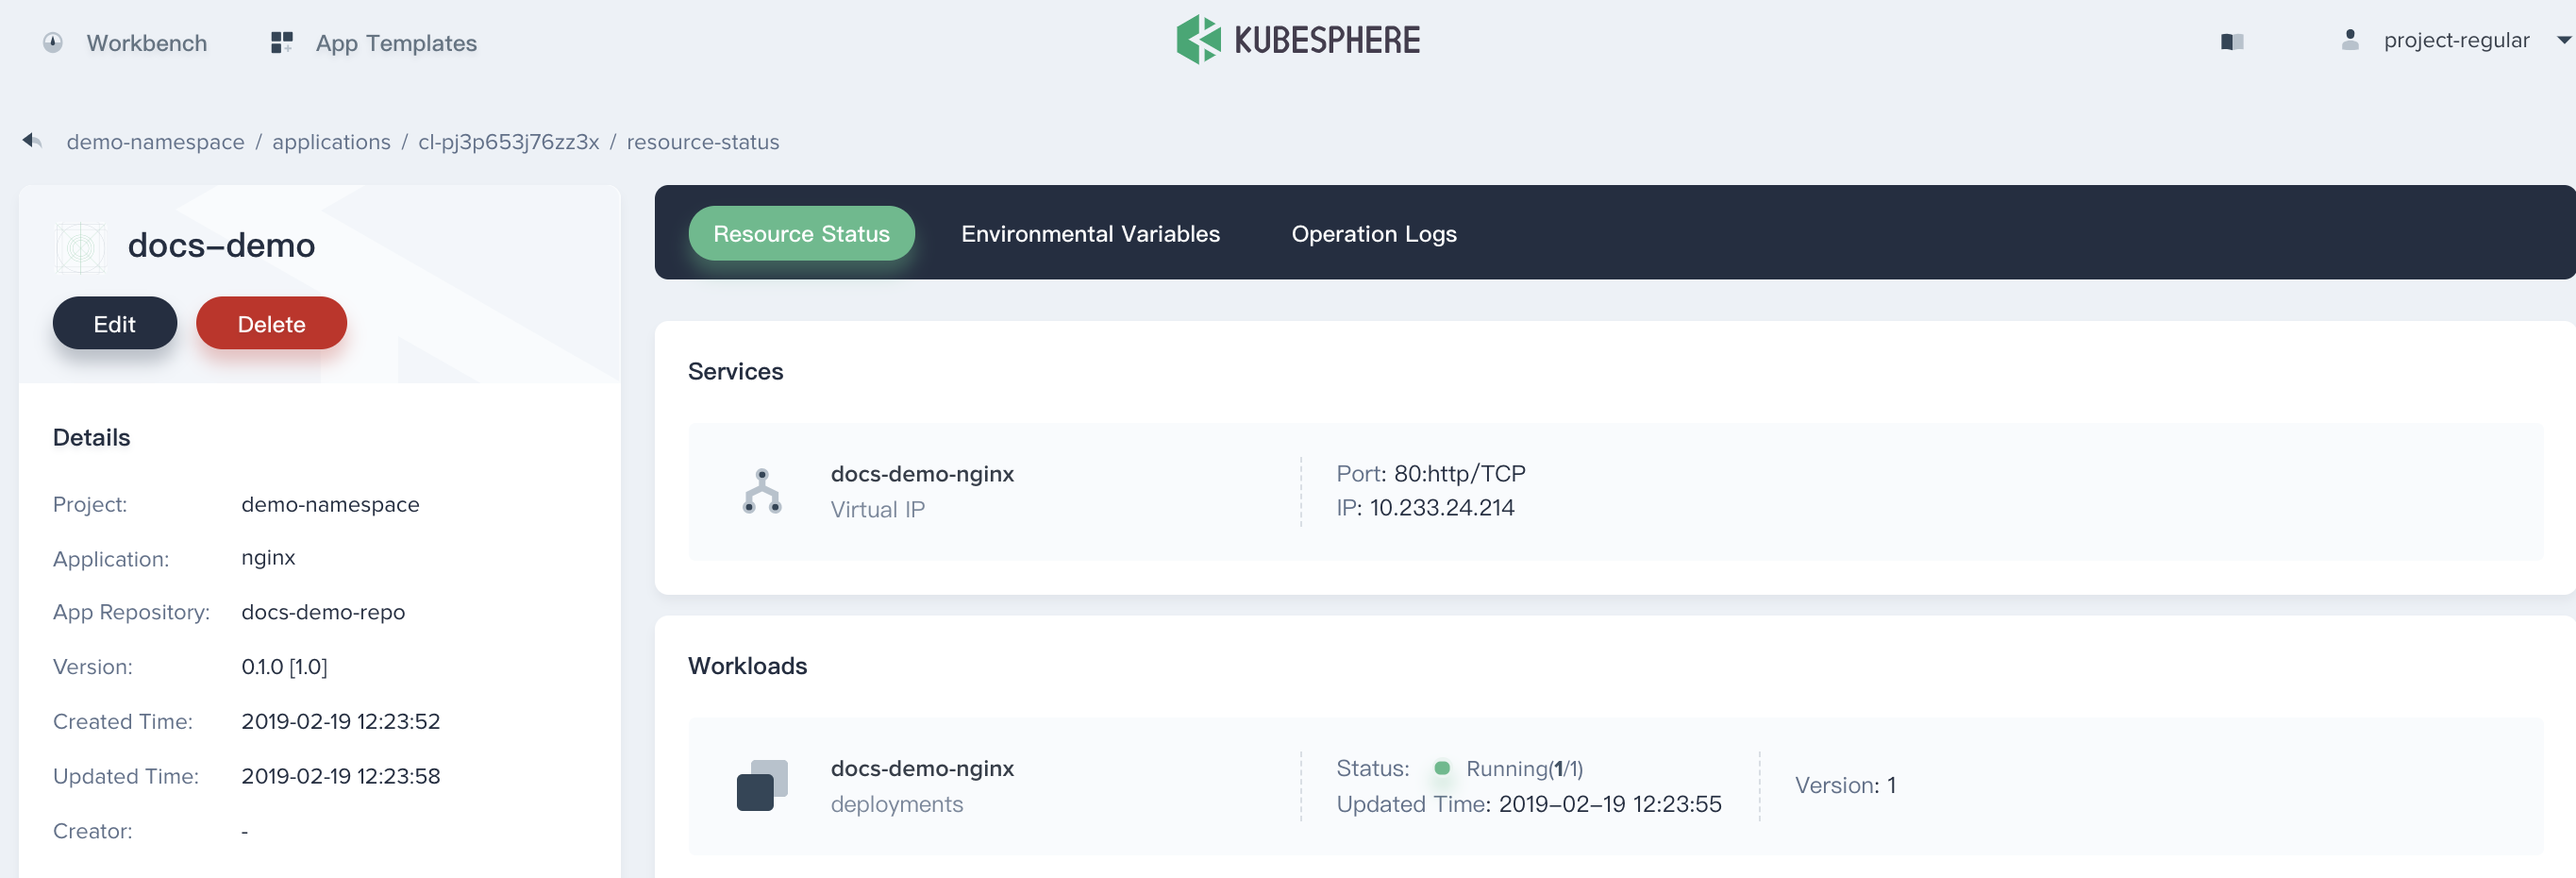
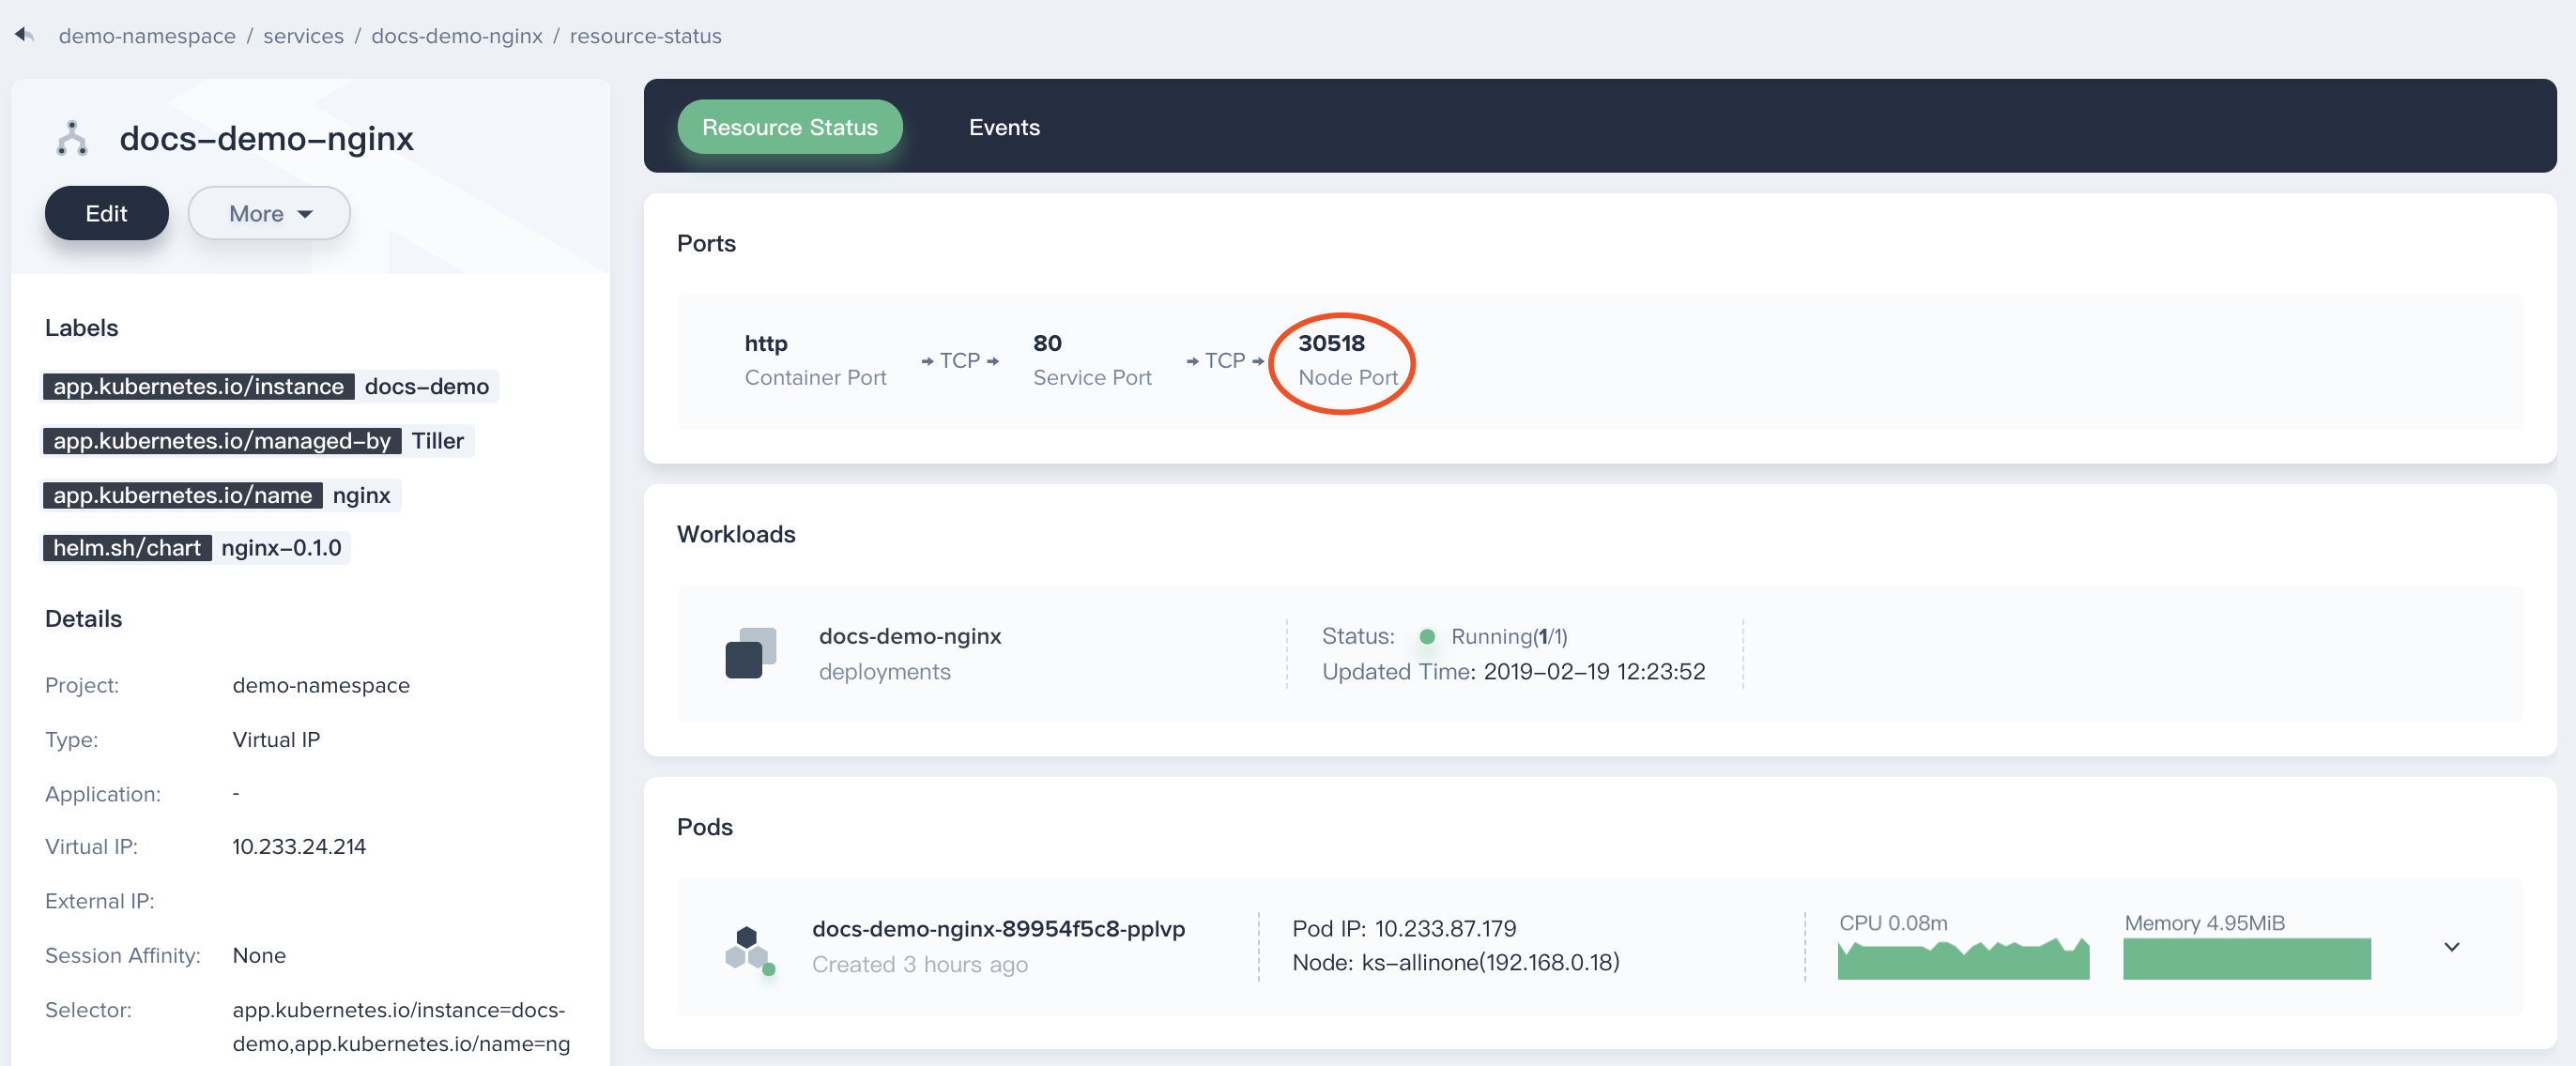
3.1. Enter into docs-demo, you will be able to see its service and workload in Resource Status page, as well as Environmental Variables and Operation Logs information.
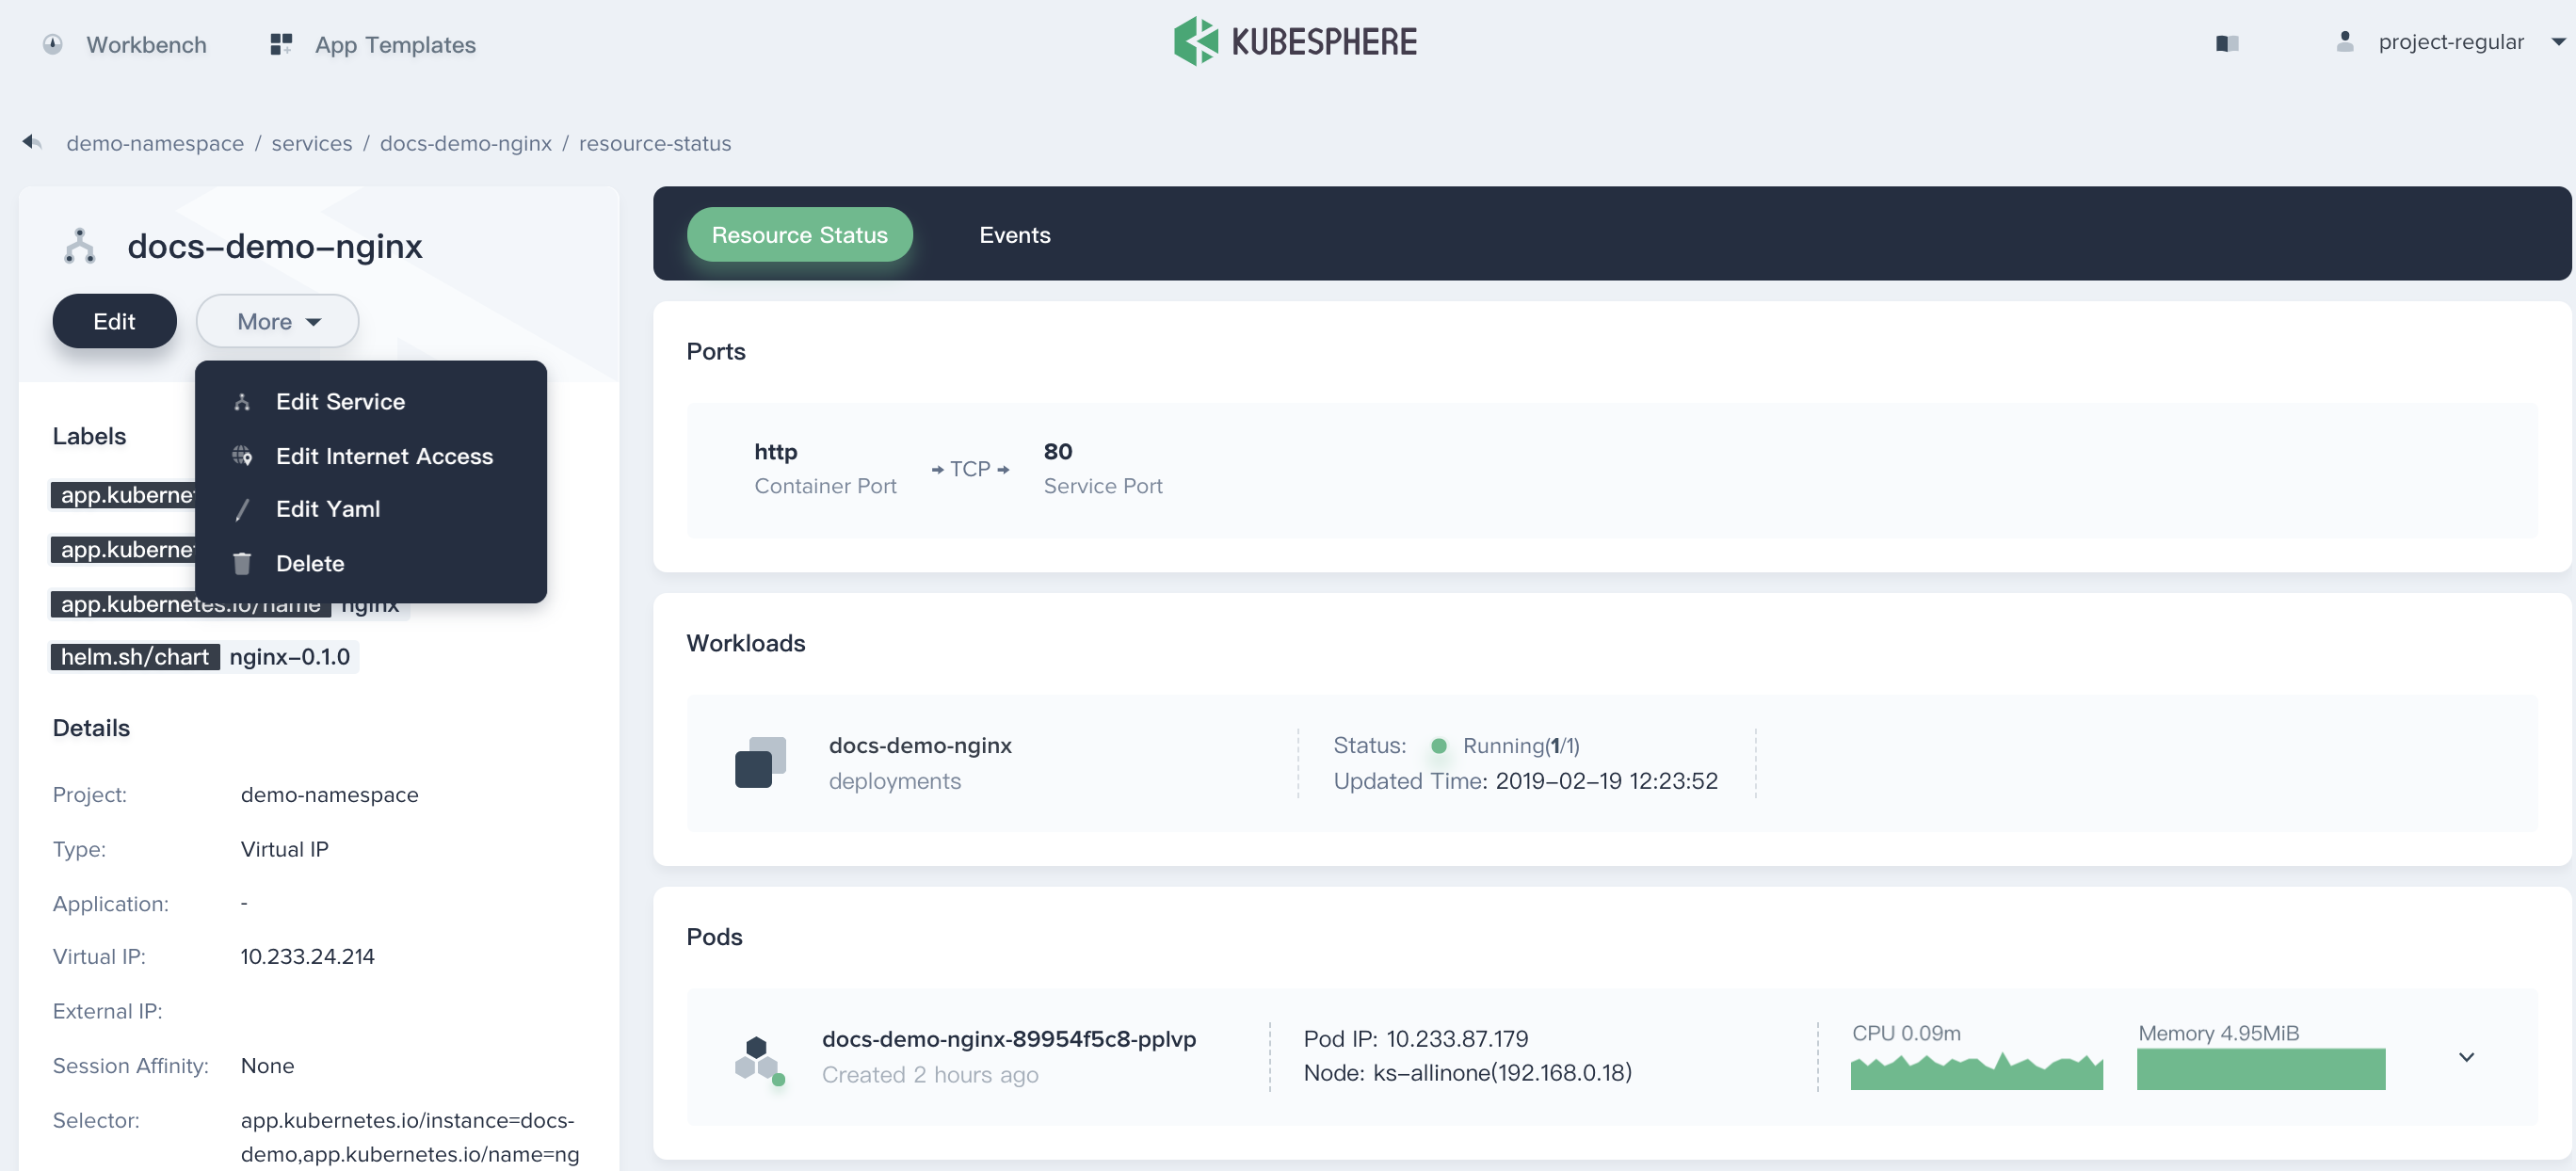
3.2. Next we are going to expose this service outside of the cluster via NodePort.
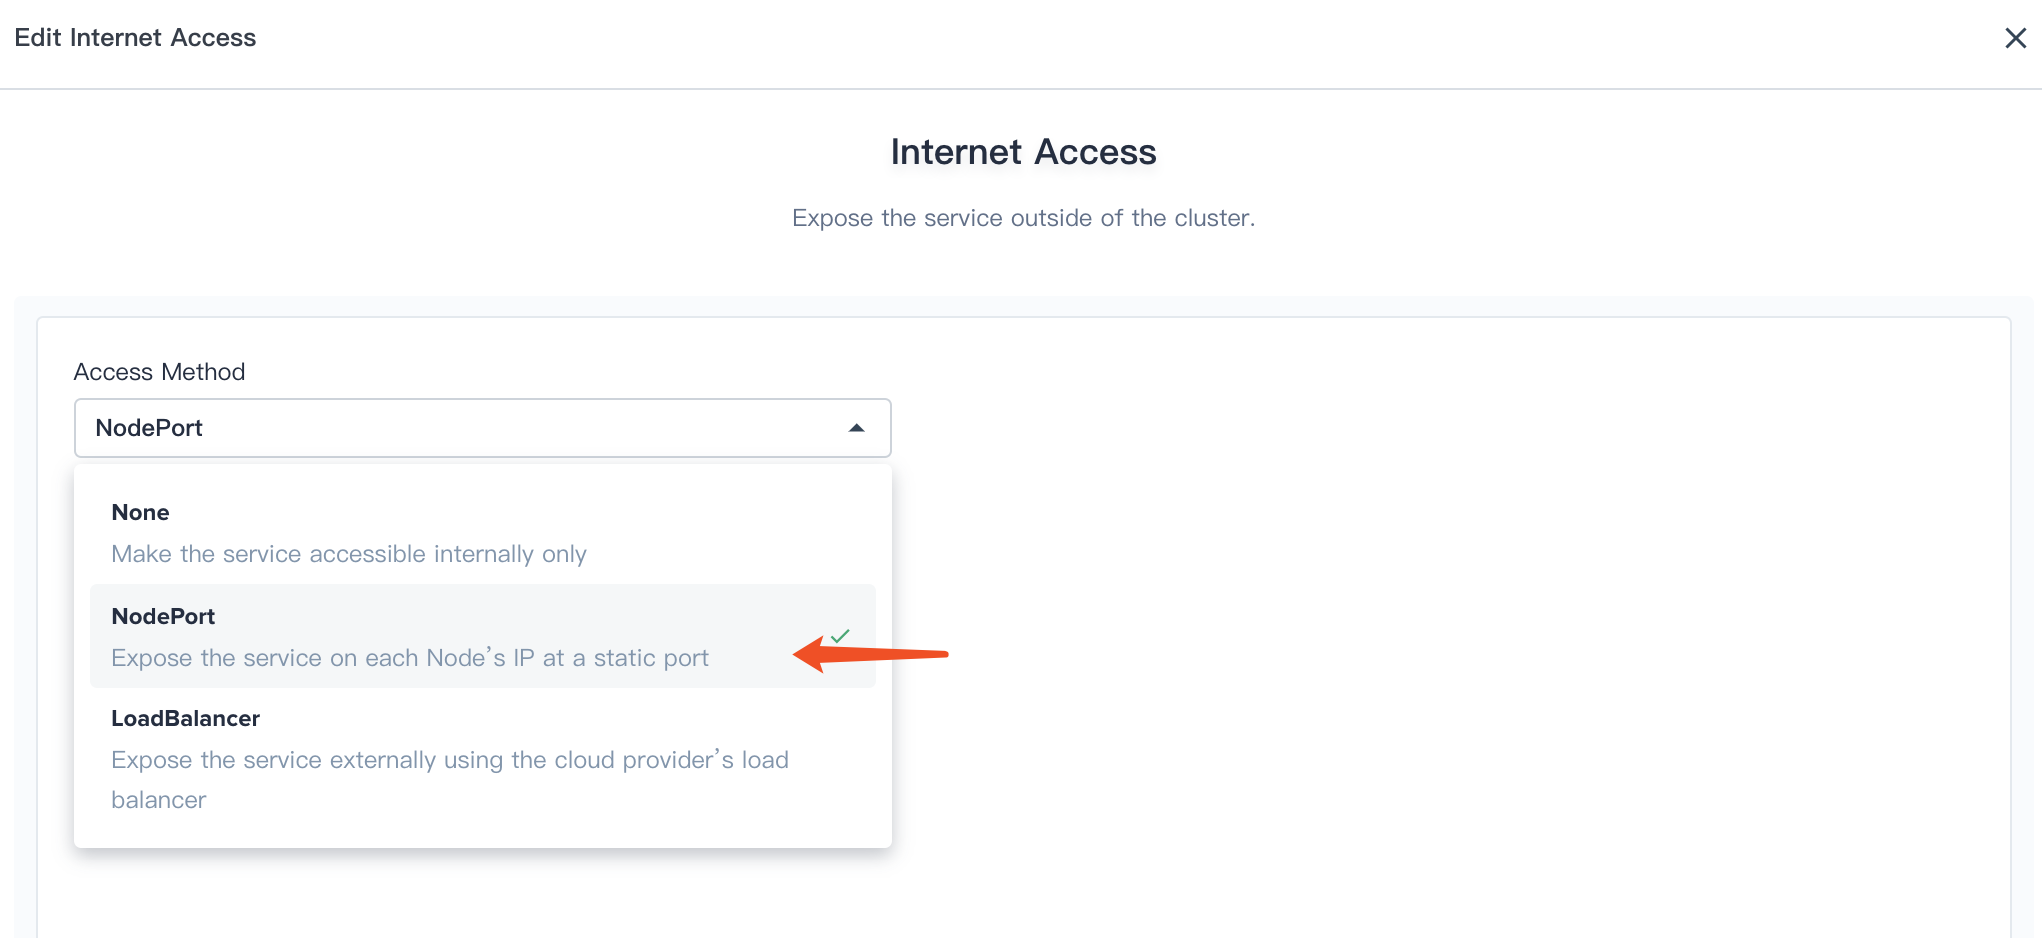
Enter into docs-demo-nginx service, then click More and choose Edit Internet Access.
3.3. Select NodePort from the drop down list.
Internet Access supports for 3 access types:
- None: This is the default service type which is used to expose the service on a cluster-internal IP. Choosing this value makes the service only reachable from within the cluster.
- NodePort: Exposes the service on each Node’s IP at a static port (the NodePort). A ClusterIP service, to which the NodePort service will route, is automatically created. You’ll be able to contact the NodePort service, from outside the cluster, by requesting
<NodeIP>:<NodePort>.- LoadBalancer: Exposes the service externally using a cloud provider’s load balancer. (It requires to install the cloud provider LoadBalancer plugin, qingcloud-cloud-controller-manager is in development and will provide LB service soon).
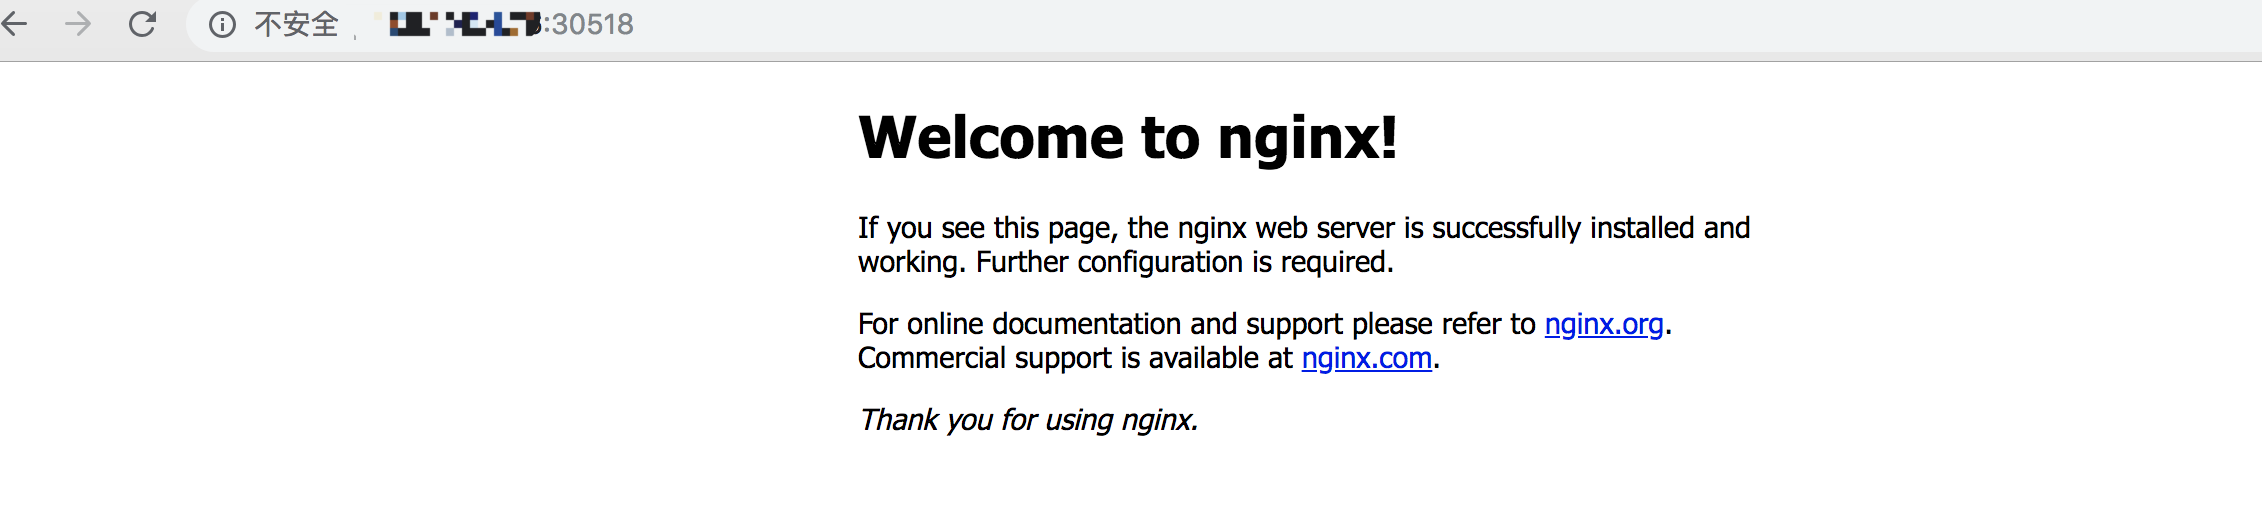
3.4. Therefore it will generate a Node Port, for example, here is 30518 that we can access this service using <$NodeIP>:<$NodePort>.
Step 4: Access Nginx Service
Note: If you want to access the service, you might need to bind the EIP and configure port forwarding. Then add the corresponding port (e.g. 30518) to the firewall rules to ensure that the external network traffic can pass through the port. In that case, external access is available.
For example, if KubeSphere cluster is deployed on QingCloud platform within VPC, thus we need to add 30518 to the port forwarding rule on the VPC network and then release the port on the firewall.
Add 30518 to the port forwarding rule

Release the port on the firewall

At this point, you will be able to access the Nginx service via ${EIP}:${NODEPORT}, e.g. http://139.168.10.10:30518.