Release Notes
Installation
Quick Start
Cluster Admin Guide
Multi-tenant Management
Platform Management
Infrastructure
Monitoring Center
User Guide
Storage
Configuration Center
Project Settings
Multi-node Installation
Multi-Node installation means install KubeSphere on multiple instances. Typically, select any one host in the cluster to serve as a role of "taskbox" to execute the installation task for other hosts before multi-node installation, SSH Communication is required to be established between "taskbox" and other hosts.
Prerequisites
- Please download KubeSphere Advanced Edition 1.0.1 to the target machine.
- It is recommended to use the storage services which are recommended by KubeSphere and prepare the corresponding storage server. If you are not prepare the storage server yet, you can also configure NFS in Kubernetes as the default storage only for testing installation.
Step 1: Provision Linux Host
The following section identifies the hardware specifications and harware requirements of hosts for installation. To get started with multi-node installation, you need to prepare at least 2 hosts according to the following specification. For ubuntu 16.04 OS, it's recommended to select 16.04.5.
Hardware Recommendations
| System | Minimum Requirements | Recommendations |
|---|---|---|
| CentOS 7.5 (64 bit) | CPU:4 Core Memory:8 G Disk Space:40 G |
CPU:8 Core Memory:16 G Disk Space:Not less than 100 G |
| Ubuntu 16.04/18.04 LTS (64 bit) | CPU:4 Core Memory:8 G Disk Space:40 G |
CPU:8 Core Memory:16 G Disk Space:Not less than 100 G |
| Red Hat Enterprise Linux Server 7.4 (64 bit) | CPU:4 Core Memory:8 G Disk Space:40 G |
CPU:8 Core Memory:16 G Disk Space:Not less than 100 G |
| Debian Stretch 9.5 (64 bit) | CPU:4 Core Memory:8 G Disk Space:40 G |
CPU:8 Core Memory:16 G Disk Space:Not less than 100 G |
The following section describes an example to introduce multi-node installation. This example showing 3 hosts installation that "master" serves as the taskbox to execute the installation. The KubeSphere cluster architecture consists of management nodes (Master) and working nodes (Node), the following cluster consists of one Master and two Nodes. Assume that the host information as following table showing:
Note: The Advanced Edition supports the high-availability configuration of the Master and etcd nodes, but this example is only for testing installation, so only a single Master and a single etcd will be deployed. For installing highly available cluster, see Creating Highly Available Master and Etcd Cluster.
| Host IP | Host Name | Role |
|---|---|---|
| 192.168.0.1 | master | master, etcd |
| 192.168.0.2 | node1 | node |
| 192.168.0.3 | node2 | node |
Cluster Architecture
Single master, Single etcd, Double nodes

Step 2: Provision Installation Files
1. Download KubeSphere Advanced Edition, suggest you to download installer via command like curl -O url or wget url after you get the download link. When you download the installer, execute following command to unzip it.
$ tar -zxf kubesphere-all-advanced-1.0.1.tar.gz2. Go into “kubesphere-all-advanced-1.0.1” folder
$ cd kubesphere-all-advanced-1.0.13. In order to manage deployment process and target machines configuration, please refer to the following example to configure all hosts in hosts.ini.
It's recommended to install using root user, Following example of hosts.ini is configured in CentOS 7.5 using root user. Note that each host information occupies one line and cannot be wrapped manually.
Note:
- If installer is ran from non-root user account who has sudo privilege already, then you need to reference the example section that is commented out in
conf/hosts.ini.- If the
rootuser can't establish SSH connection with other machines in taskbox, you need to refer to thenon-rootuser example at the top of theconf/hosts.ini, but it's recommended to switchrootuser when executinginstall.sh.
hosts.ini
[all]
master ansible_connection=local  ip=192.168.0.1
node1  ansible_host=192.168.0.2  ip=192.168.0.2  ansible_ssh_pass=PASSWORD
node2  ansible_host=192.168.0.3  ip=192.168.0.3  ansible_ssh_pass=PASSWORD

[kube-master]
master

[kube-node]
node1
node2

[etcd]
master

[k8s-cluster:children]
kube-node
kube-master
Note:
- Each node's parameters like IP and its password needs to be modified with actual values in
[all]section. In this example, since "master" served astaskboxwhich has been ssh connected from your local, no need to add password field.- Other nodes like "node1" and "node2", both
ansible_hostandipneed to be replaced by actual Internal IP, and"ansible_ssh_pass"should be replaced with the SSH password.- "master" is served as the taskbox to execute installation task for whole cluster, as well as the role of master and etcd, so "master" needs to be filled into
[kube-master]and[etcd]section.- At the same time, for "node1" and "node2", both serve the role of
Nodeas well, so their hosts name need to be filled in[kube-node]section.Parameters Specification:
ansible_connection: Connection type to the host, set to local here means local connection.ansible_host: The name of the host to be connected.ip: The ip of the host to be connected.ansible_user: The default ssh user name to use.ansible_become_pass: Allows you to set the privilege escalation password.ansible_ssh_pass: The password of the host to be connected using root.
5. It is recommended to use the storage services recommended by KubeSphere and prepare the corresponding storage server. If you are not prepare the storage server yet, you can also configure NFS in Kubernetes as the default storage only for testing. If so, you need to modify the storage class parameters in vars.yml refer to the example below, see Storage Configuration Instructions.
Note:
- You may need to modify the relevant configurations like network or storage class in
conf/vars.yaml, otherwise it will be executed with default parameters.- Network:
Calicoby default.Multi-node supports following storage classes:
- Since the default subnet for Cluster IPs is 10.233.0.0/18, default subnet for Pod IPs is 10.233.64.0/18 in Kubernetes cluster. The node IPs must not overlap with those 2 default IPs. If any conflicts happened with the IP address, go to
conf/vars.yamland modifykube_service_addressesorkube_pods_subnetto avoid this senario.
6. Since multi-node installation doesn't support local volume, firstly you need to modify the local volume configuration to false, then configure persistent storage such as QingCloud-CSI, NeonSAN-CSI, GlusterFS or CephRBD. Following example describes how to configure NFS server in Kubernetes for testing (nfs_server_enable and nfs_server_is_default_class needs to set to true).
Example
# Local volume provisioner deployment(Only all-in-one)
local_volume_provisioner_enabled: false
local_volume_provisioner_storage_class: local
local_volume_is_default_class: false

# NFS-Server provisioner deployment
nfs_server_enable: true
nfs_server_is_default_class: true
Step 3: Get Started With Deployment
The environment and file monitoring, dependencies, Kubernetes (v1.12.3) and etcd, as well as the automated storage deployment, all of these procedures will be automatically processed in this installation. The installer will automatically install the relevant dependent softwares like Ansible (v2.4+),Python-netaddr (v0.7.18+) and Jinja (v2.9+) as well.
Following steps describes how to get started with Multi-node installation:
Since Multi-node installation duration is related to network conditions and bandwidth, machine configuration and the number of nodes, it's hard to give a standard duration.
1. Enter into scripts:
$ cd scripts2. It's recommended to install using root user, then execute install.sh:
$ ./install.sh3. Enter 2 to start multi-node installation, the installer will prompt if you have configured the storage or not. If not, please enter "no", then return to configure the storage, see Storage Configuration Instruction.
################################################
         KubeSphere Installer Menu
################################################
*   1) All-in-one
*   2) Multi-node
*   3) Quit
################################################
https://kubesphere.io/               2018-12-08
################################################
Please input an option: 2
4. To verify the multi-node installation:
(1). If you can see the following "Successful" result after install.sh completed, that means KubuSphere installation is ready. You may need to bind the EIP and configure port forwarding. Make sure you have added the corresponding Nodeport to the firewall rules (like 32130) if the EIP has a firewall, then external network traffic can pass through this nodeport.
successsful!
#####################################################
### Welcome to KubeSphere! ###
#####################################################
Console: http://192.168.0.1:32130
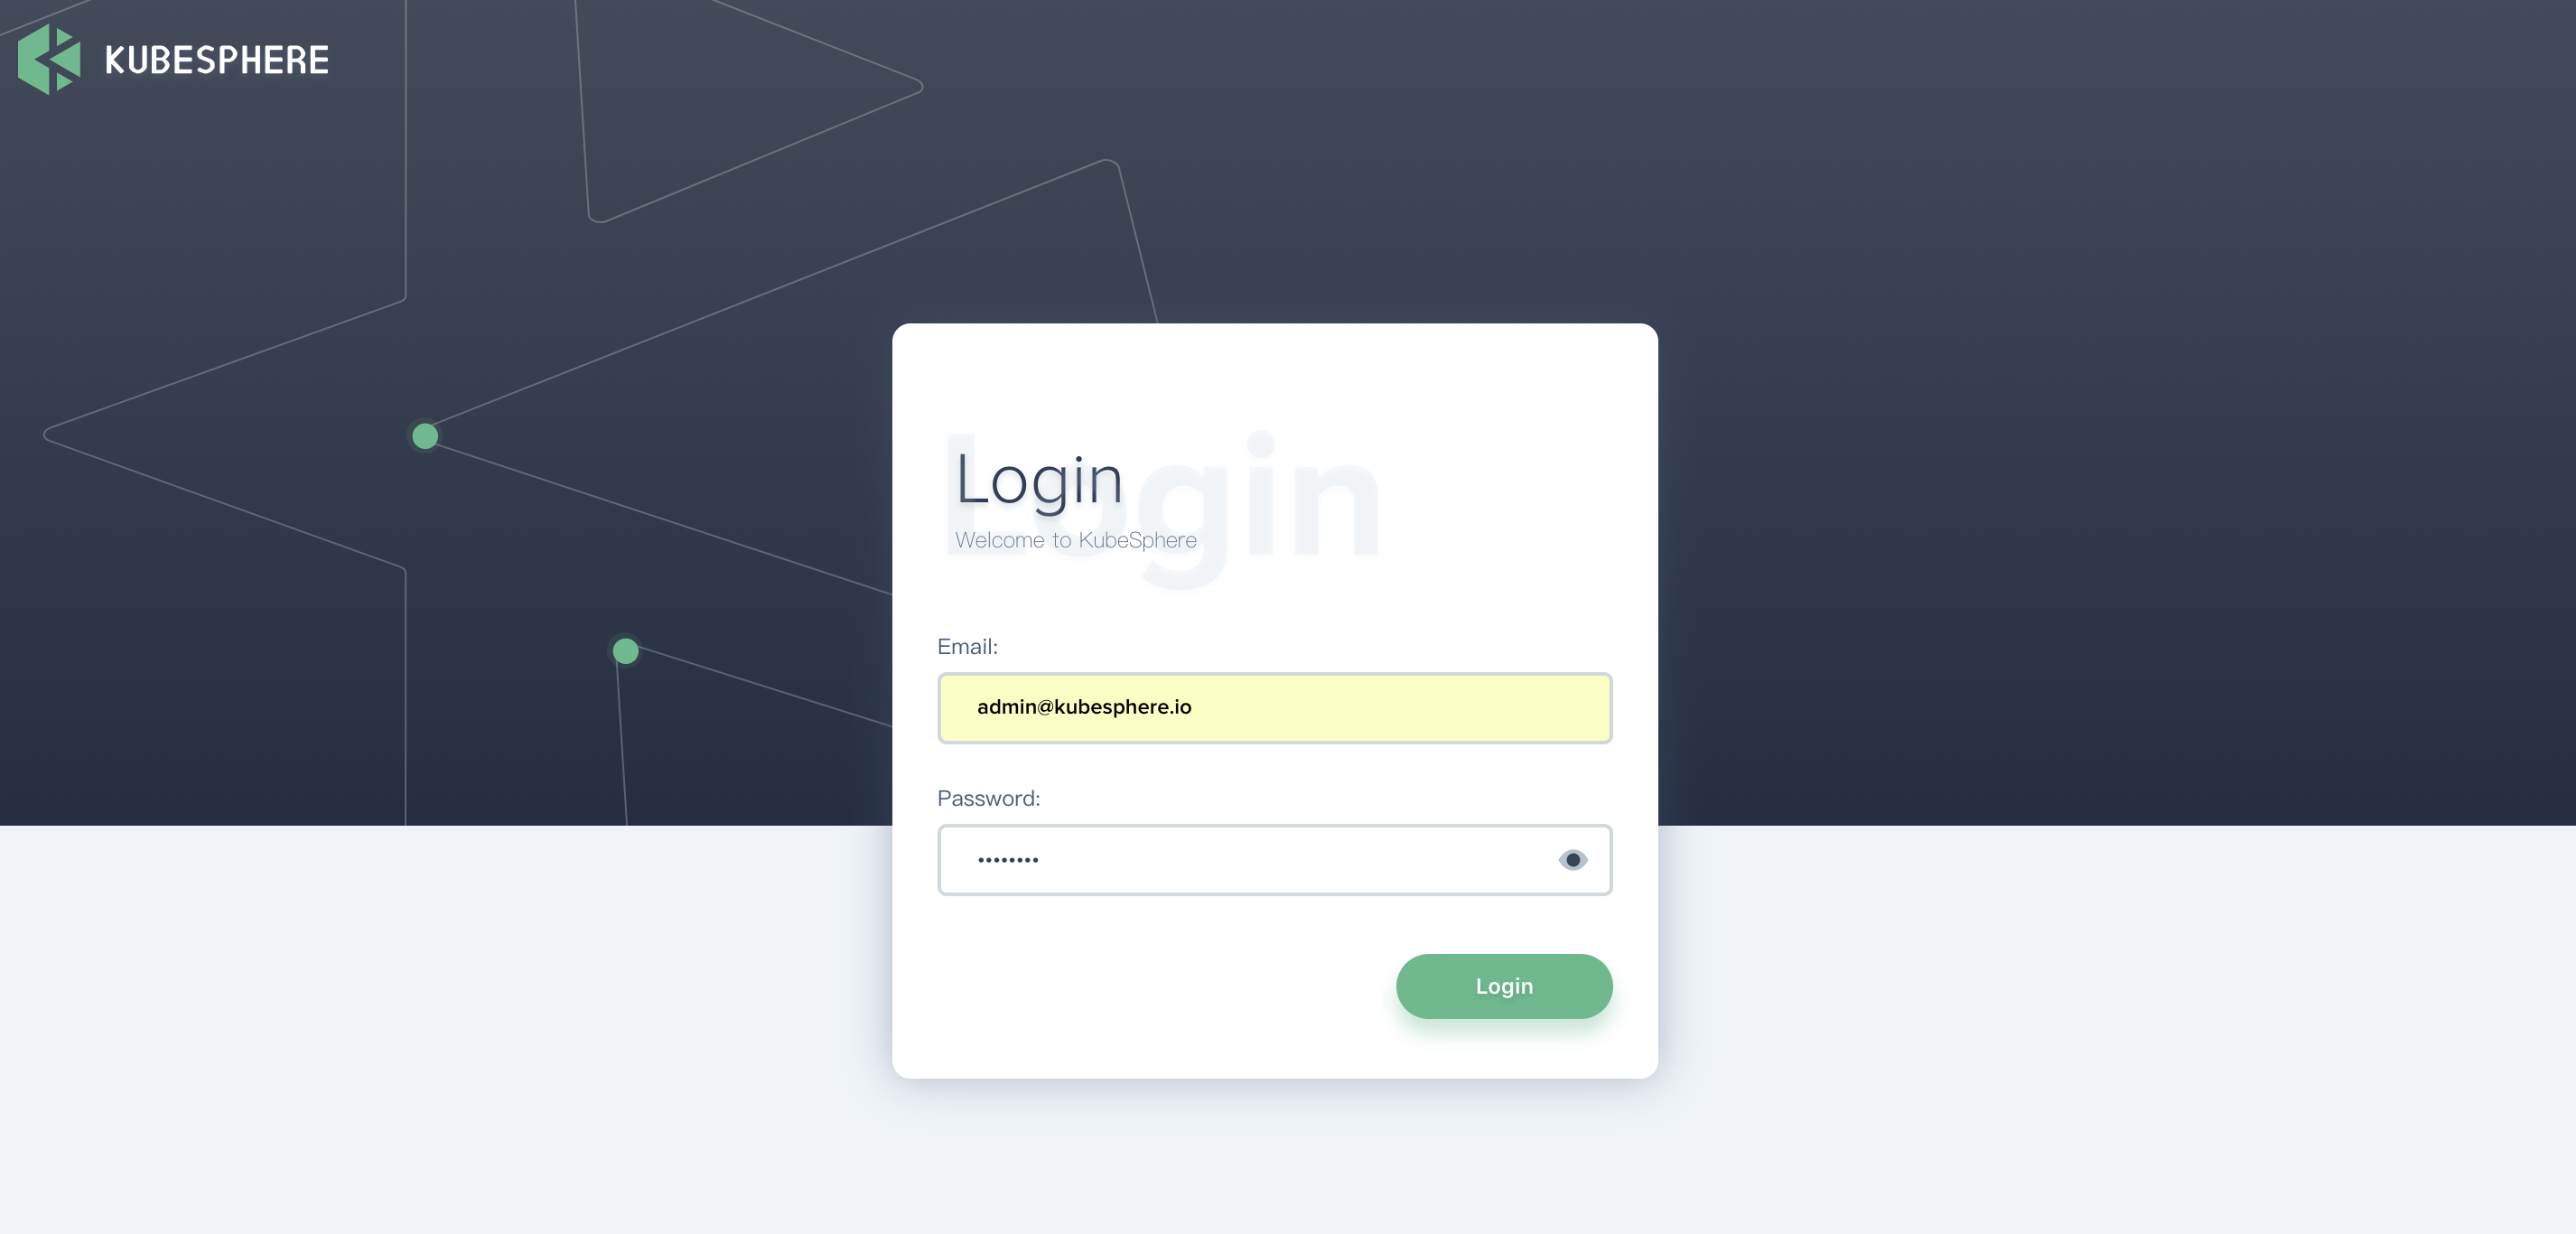
Account: admin
Password: passw0rd
NOTE:Please modify the default password after login.
#####################################################Note: If you need to view the above interface, execute
cat kubesphere/kubesphere_running.
(2). You will be able to log in to the KubeSphere console using default account and password, it's highly recommended to reference Quick Start Guide.