Release Notes
Installation
Quick Start
Cluster Admin Guide
Multi-tenant Management
Platform Management
Infrastructure
Monitoring Center
User Guide
Storage
Configuration Center
Project Settings
All-in-One Installation
For those who are new to KubeSphere Advanced Edition and looking for the fastest way to install and experience the dashboard, the all-in-one installation must be your best choice since it supports one-click installation. Just follow the steps below to get started.
Prerequisites
- Please download KubeSphere Advanced Edition 1.0.1 to the target machine.
- It is recommended to use the storage services which are recommended by KubeSphere and prepare the corresponding storage servers. If you are not prepare the storage servers yet, you can also use Local Volume as the default storage only for testing.
Installation Demo

Step 1: Provision Linux Host
The following section identifies the hardware specifications and system-level requirements of one host for installation. To get started with all-in-one mode, you may need to prepare only one host refer to the following specification. For ubuntu 16.04 OS, it's recommended to select 16.04.5.
Hardware Recommendations
| System | Minimum Requirements | Recommendations |
|---|---|---|
| CentOS 7.5 (64 bit) | CPU:4 Core Memory:8 G Disk Space:100 G |
CPU:8 Core Memory:16 G Disk Space:Not less than 100 G |
| Ubuntu 16.04/18.04 LTS (64 bit) | CPU:4 Core Memory:8 G Disk Space:100 G |
CPU:8 Core Memory:16 G Disk Space:Not less than 100 G |
| Red Hat Enterprise Linux Server 7.4 (64 bit) | CPU:4 Core Memory:8 G Disk Space:100 G |
CPU:8 Core Memory:16 G Disk Space:Not less than 100 G |
| Debian Stretch 9.5 (64 bit) | CPU:4 Core Memory:8 G Disk Space:100 G |
CPU:8 Core Memory:16 G Disk Space:Not less than 100 G |
Step 2: Provision Installation Files
1. Download KubeSphere Installer, suggest you to download the installer use command like curl -O url or wget url after you get download link. When you get the installer, execute following command to unzip it.
$ tar -zxf kubesphere-all-advanced-1.0.1.tar.gz2. Go into “kubesphere-all-advanced-1.0.1” folder
$ cd kubesphere-all-advanced-1.0.1Step 3: Get Started With Installation
The environment and file monitoring, dependencies, Kubernetes (v1.12.3) and etcd, as well as the automated storage deployment, all of these procedures will be automatically processed in this installation. The installer will automatically install the relevant dependent softwares like Ansible (v2.4+),Python-netaddr (v0.7.18+) and Jinja (v2.9+) as well.
Note:
- Generally, you can install it directly without any modification.
- If you would like to customize the configuration parameters, such as network, storage classes, etc. You can specify the parameters in
vars.yml. Otherwise it will be executed with the default parameters.- Network: Calico by default.
- All-in-One uses local volume as the storage class by default. Since local volume does not support dynamic provisioning, users need to create a persistent volume (PV) in advance when creating volumes in the KubeSphere console if PVs is insufficient, installer also pre-creates 10 available 10G PVs for testing.
- Supported Storage Classes:QingCloud Block Storage、QingStor NeonSAN、GlusterFS、CephRBD、NFS、Local Volume, see Storage Configuration Instructions.
- Since the default subnet for Cluster IPs is 10.233.0.0/18, default subnet for Pod IPs is 10.233.64.0/18 in Kubernetes cluster. The node IPs must not overlap with those 2 default IPs. If any conflicts happened with the IP address, go to
conf/vars.yamland modifykube_service_addressesorkube_pods_subnetto avoid this conflict.
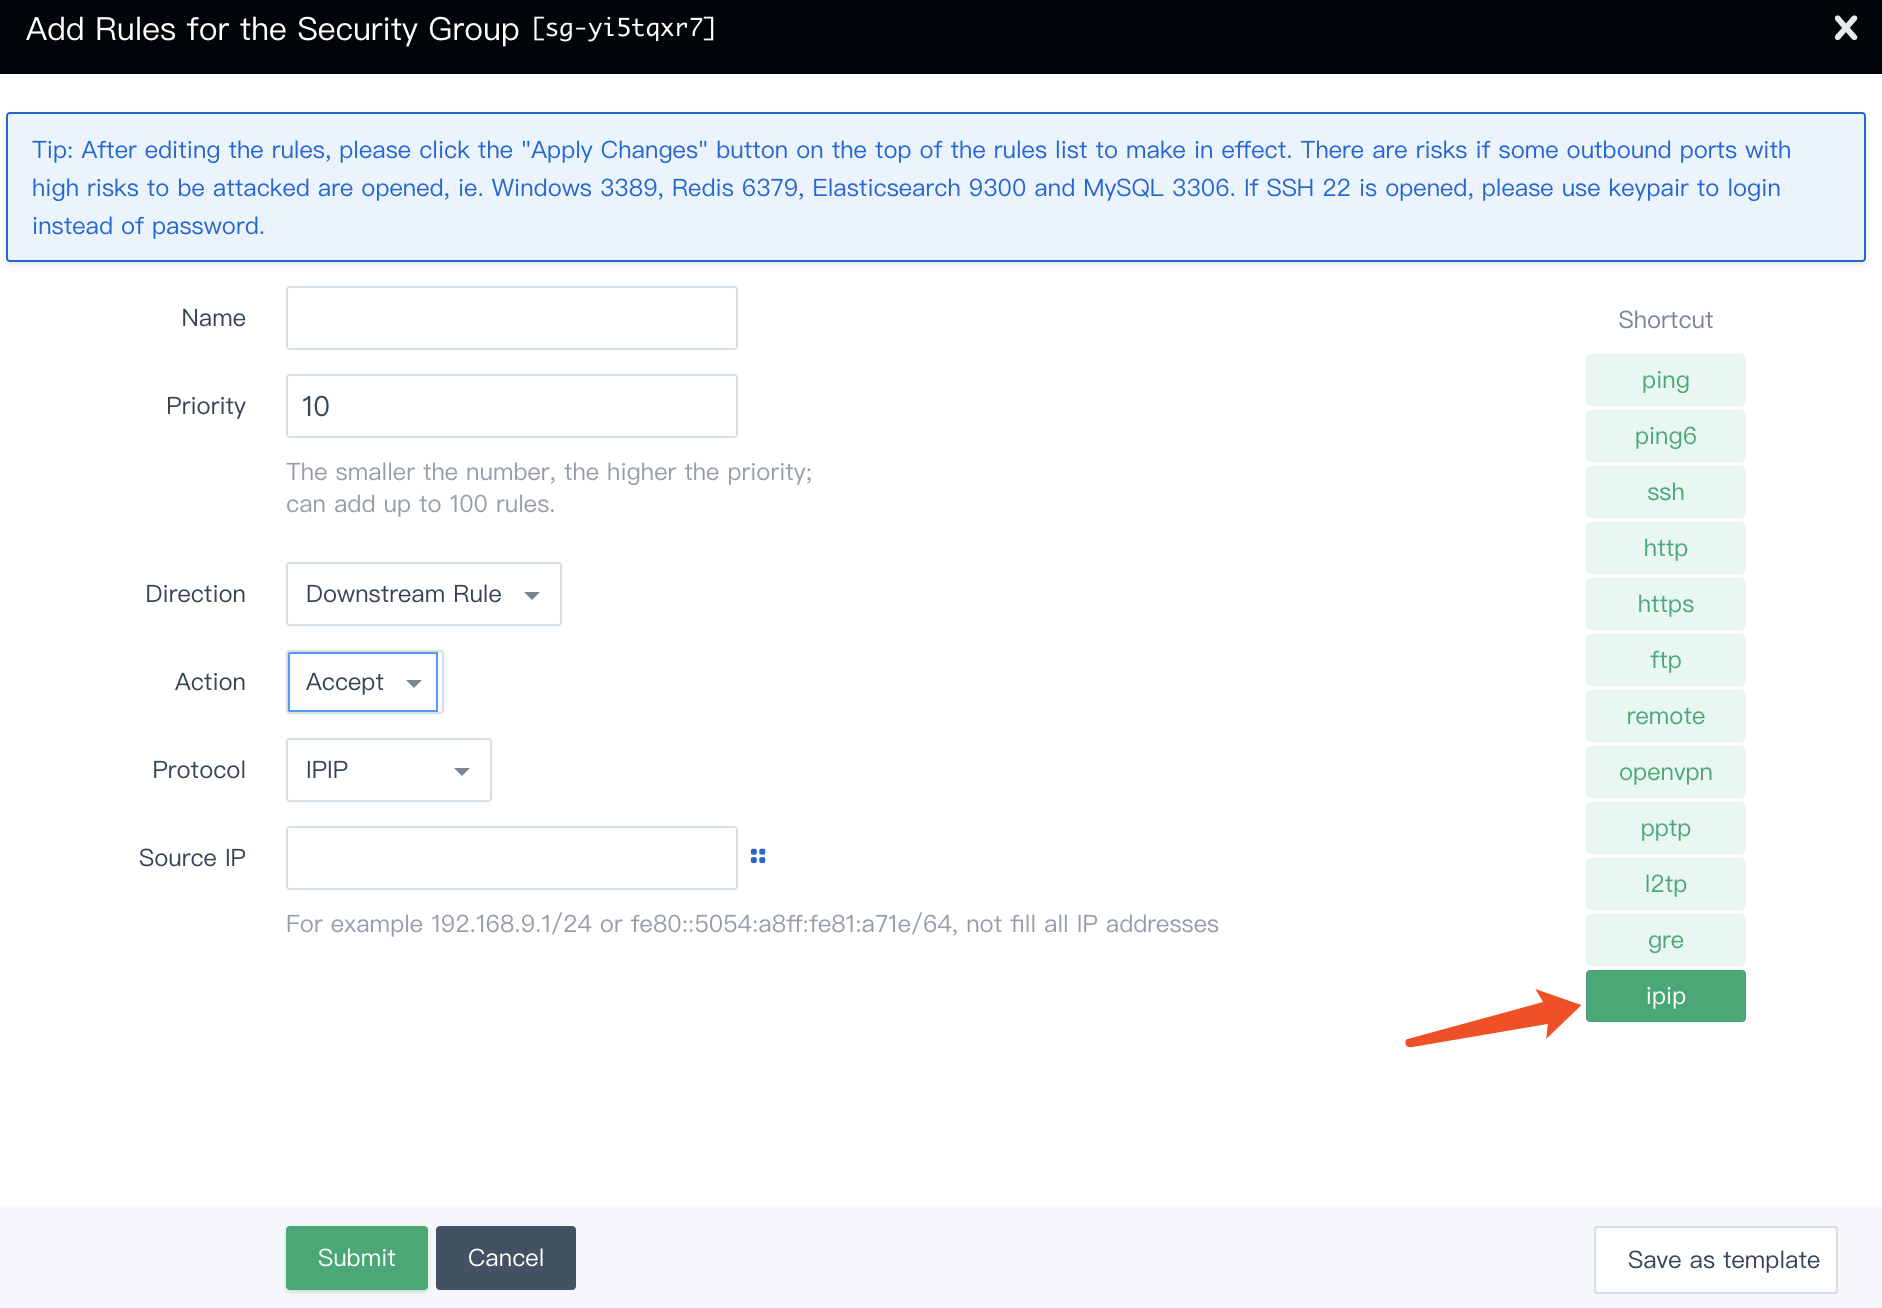
Attention
Notice that if you choose to use the default Calico network plugin for installation on the cloud platform, and the host is running directly on the Base network, you need to add an ipip protocol for the source IP (IP/port collection) in firewall rules, for example in QingCloud platform adds firewall ipip protocol:
Following steps describes how to get started with all-in-one:
The installation duration is related to network conditions and bandwidth, machine configuration and the number of nodes. All-in-one mode installation was about 25 minutes after testing when the network was good condition with the minimum hardware requirements.
1. Go into scripts:
$ cd scripts2. It's recommended to install using root user, then execute install.sh:
$ ./install.sh3. Enter 1 to select all-in-one to start:
################################################
KubeSphere Installer Menu
################################################
* 1) All-in-one
* 2) Multi-node
* 3) Quit
################################################
https://kubesphere.io/ 2018-12-08
################################################
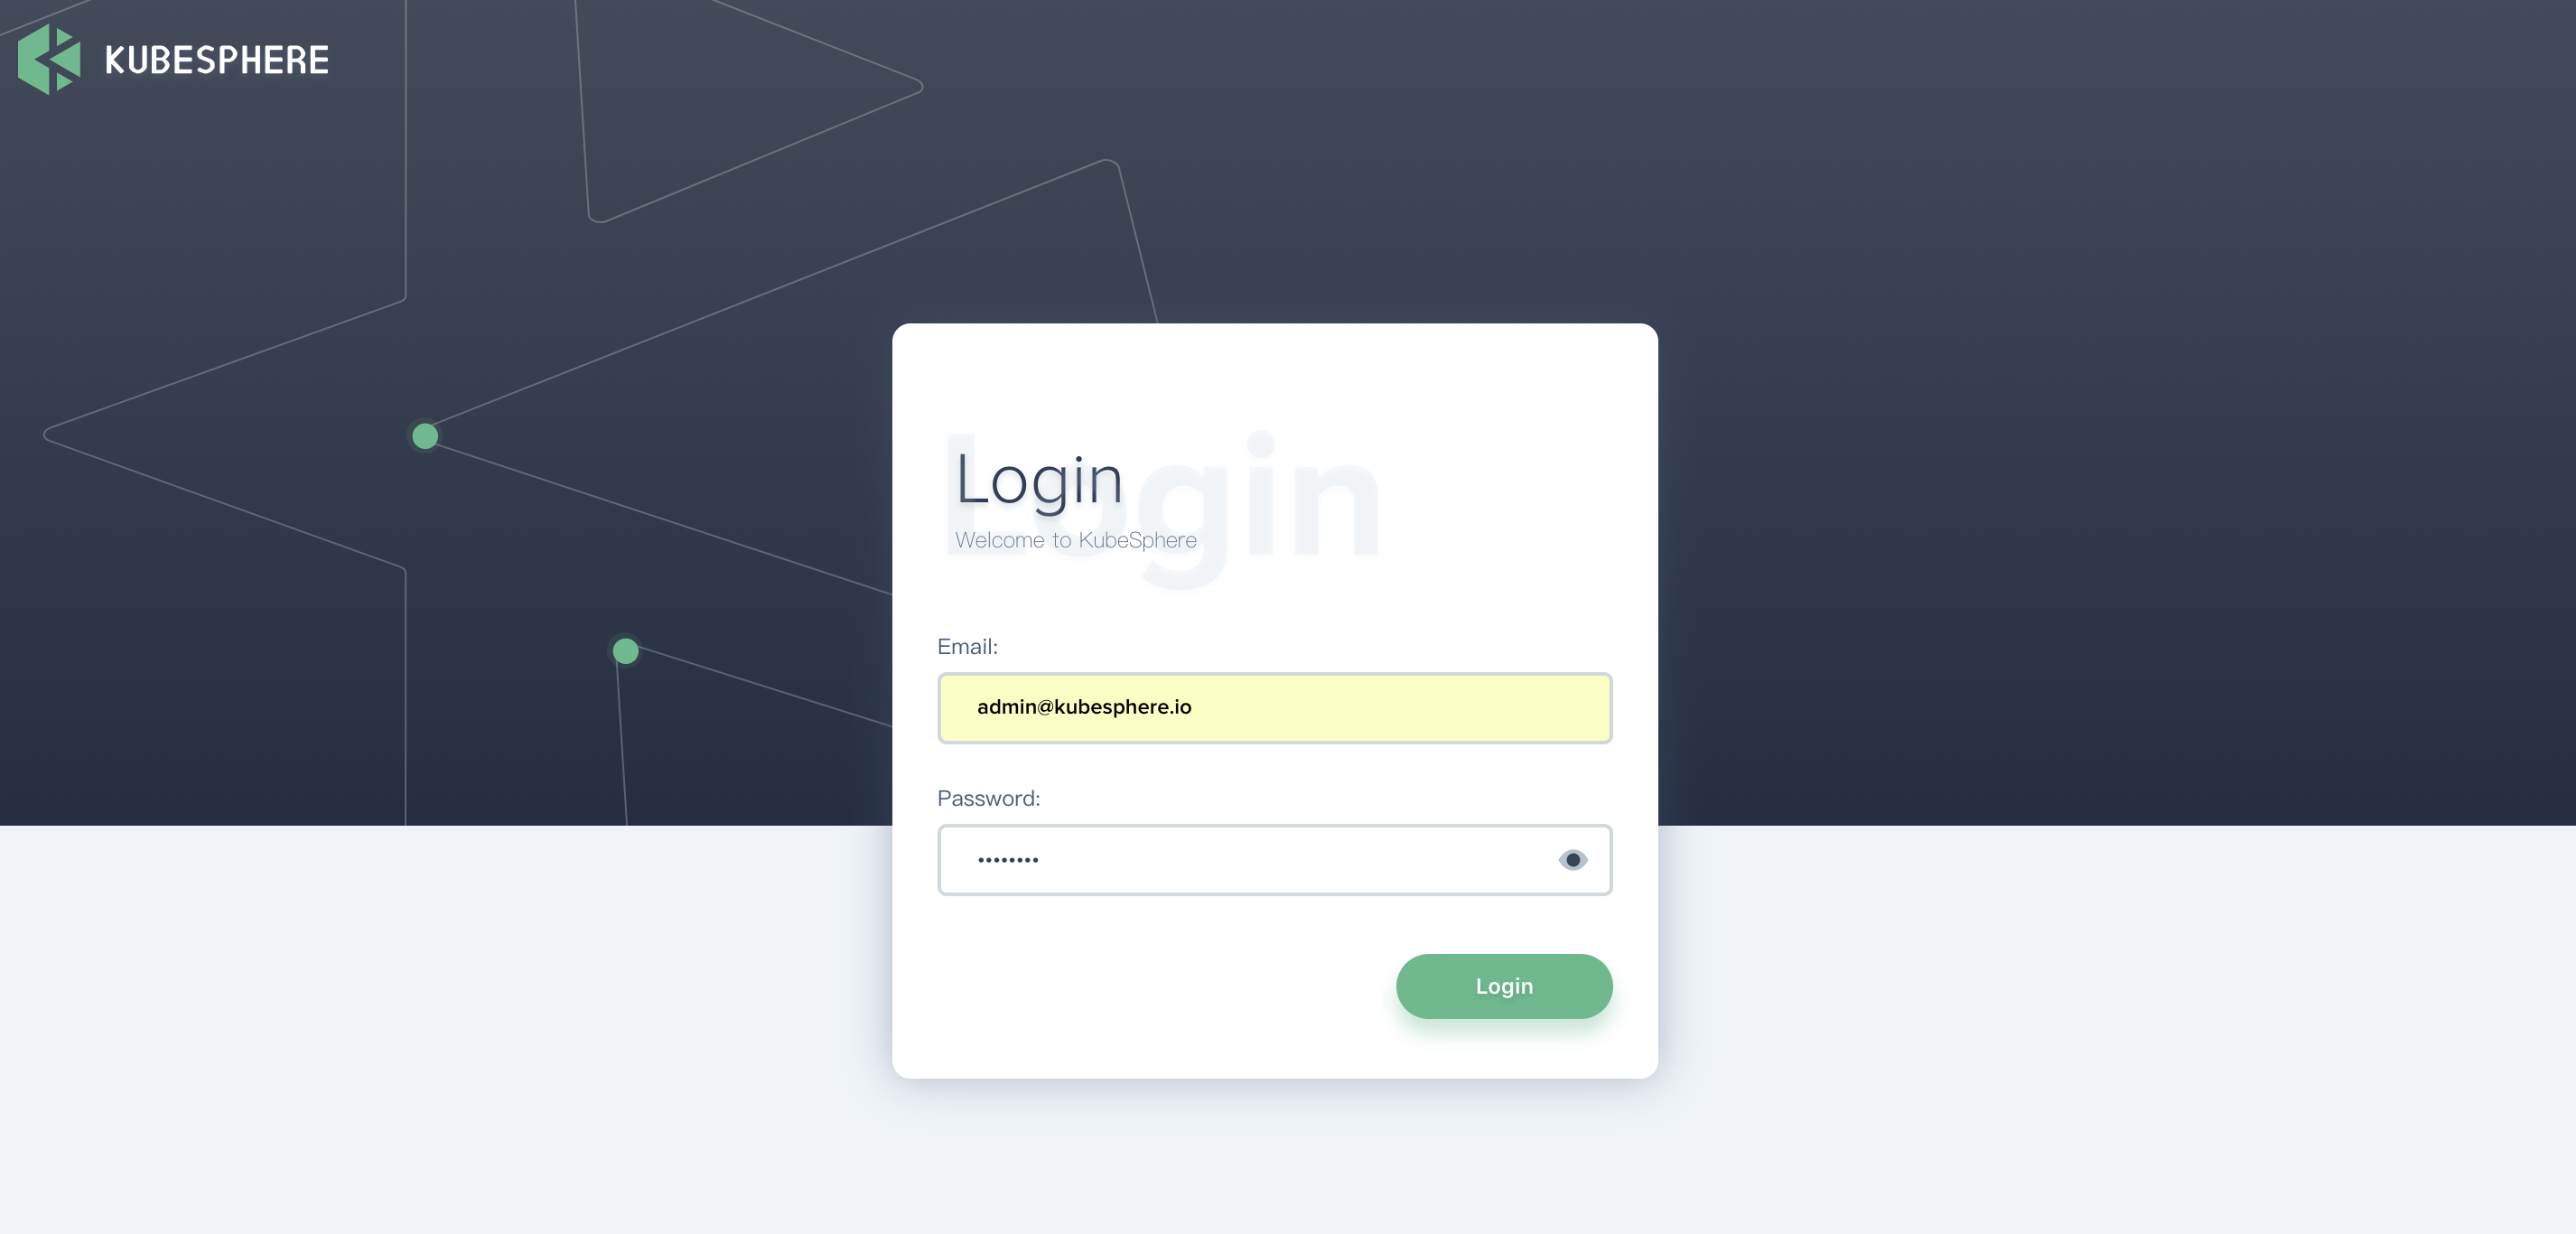
Please input an option: 14. Verify KubeSphere all-in-one installation:
(1). If you can see the following "Successful" result after install.sh completed, that means KubuSphere installation is ready. You may need to bind the EIP and configure port forwarding. Make sure you have added the corresponding nodeport to the firewall (like 31236) if the EIP has a firewall, then external network traffic can pass through this nodeport.
successsful!
#####################################################
###              Welcome to KubeSphere!           ###
#####################################################

Console: http://192.168.0.8:31236
Account: admin
Password: passw0rd

NOTE:Please modify the default password after login.
#####################################################
Note: If you need to view the above interface , just execute
cat kubesphere/kubesphere_runningin the installer directory.
(2). You will be able to log in to the KubeSphere console using default account and password, it's highly recommended to reference Quick Start Guide.